The order of steel guns - LIAN LI joint force Bauhaus-O11 chassis installed operations
Foreword
Recently, my friend asked me to install the machine, and I decided to use the AMD Ryzen 7 2700X + X470 + GTX 1080 Ti platform, which requires a medium-tower tempered glass side-through chassis, as well as extreme RGB lighting effects. After confirming the requirements, configuration, and budget, This article installed text. In order to take advantage of the performance of the AMD Ryzen 7 2700X, the ROG CROSSHAIR VII HERO (WI-FI) can be said to be the best choice. The graphics card is just right for the EVGA GTX1080 Ti and it is also the work and cooling performance of the SC2. In order to cater to the needs of mid tower, tempered glass side penetration and chassis front interface, we have selected the new Bauhaus-O11, which is highly detailed and cost-effective. In order to achieve the ultimate RGB lighting effect, we have chosen The pirate ship's LL120 RGB fan, because the combination of 2700X + C7H + GTX 1080 Ti's power consumption is not low, so the power supply is considered Antec Tektronix 750W HCG750 Gold.
The installation requirements are as follows:
1. The performance is strong enough to handle the current mainstream games and applications.
2. The materials used for the work must be solid and must run stably.
3. The appearance is as simple and refined as possible, and it needs to be transparent, requiring RGB lighting effects.
configuration list:
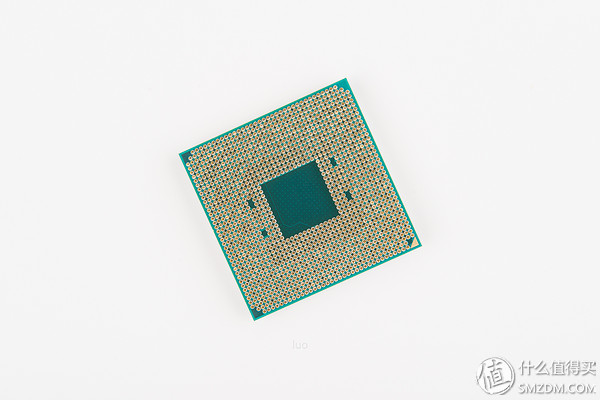
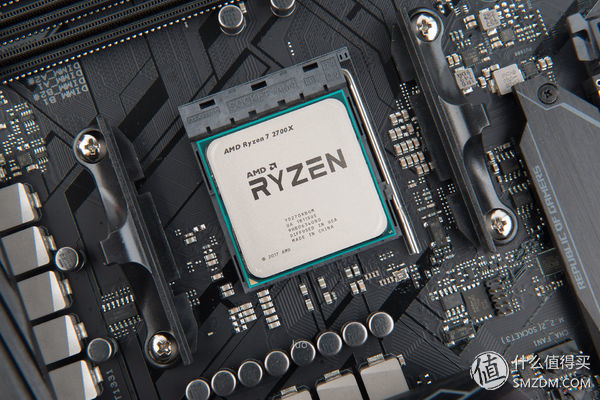
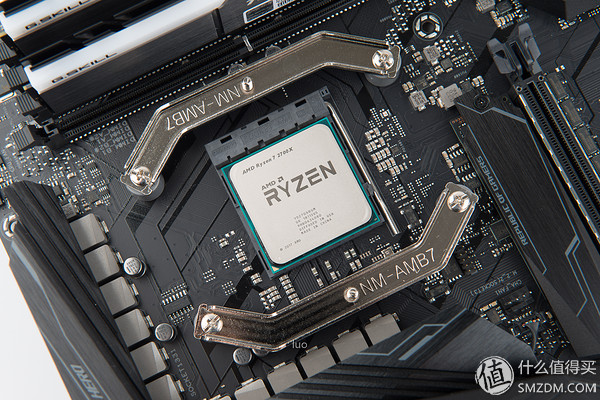
CPU: AMD Ryzen 7 2700X
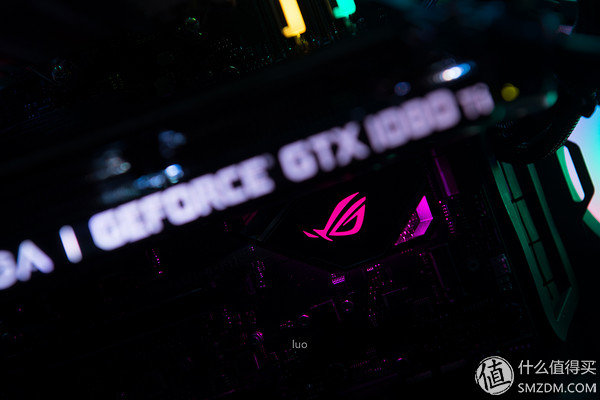
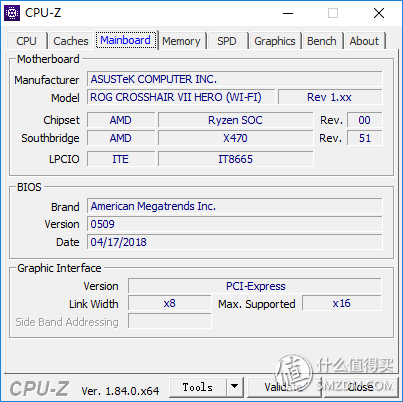
Motherboard: ASUS Player's Land ROG CROSSHAIR VII HERO (WI-FI)
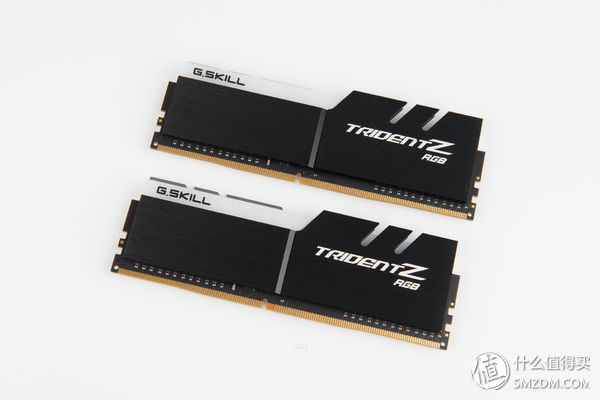
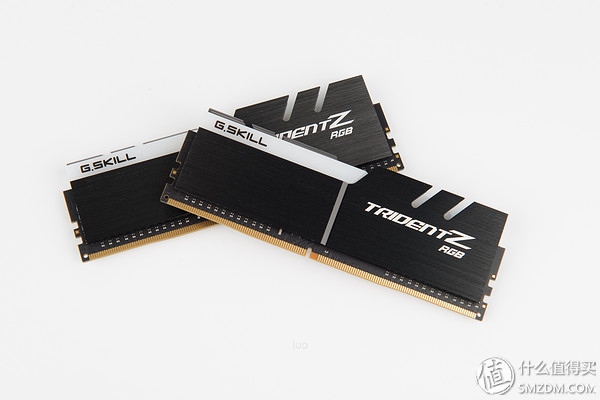
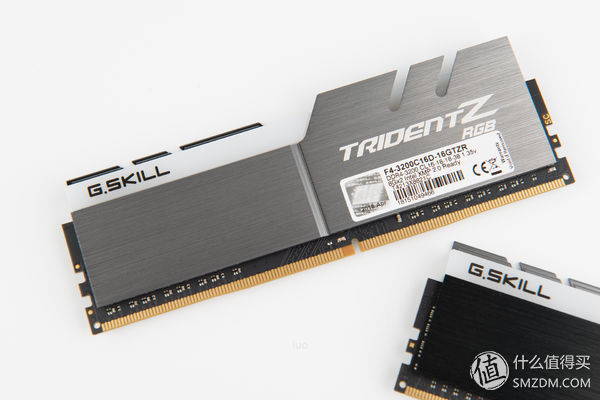
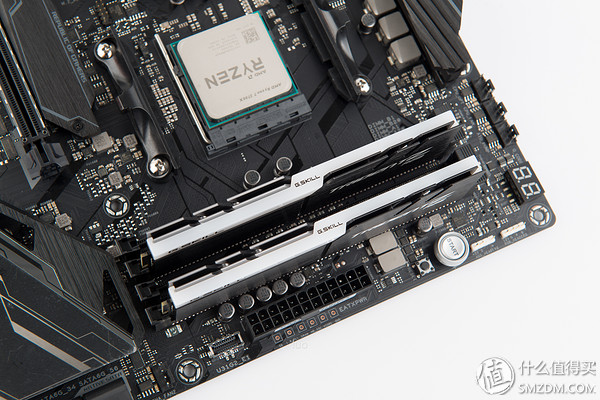
Memory: Zhi Chi Magic Light DDR4 3200 8G x 2
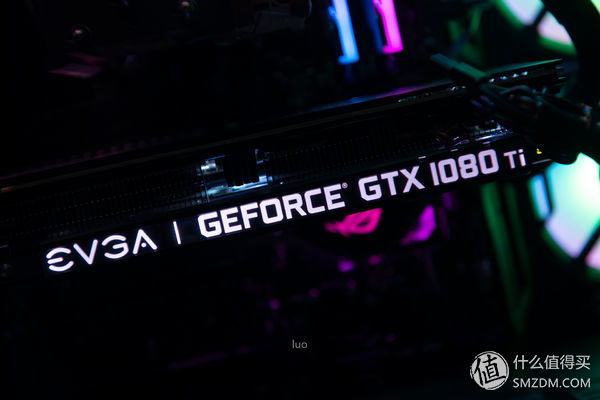
Graphics: EVGA GTX1080 Ti 11G SC2 GAMING iCX
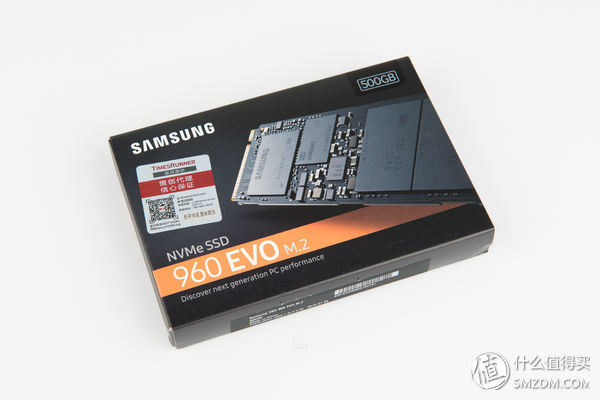
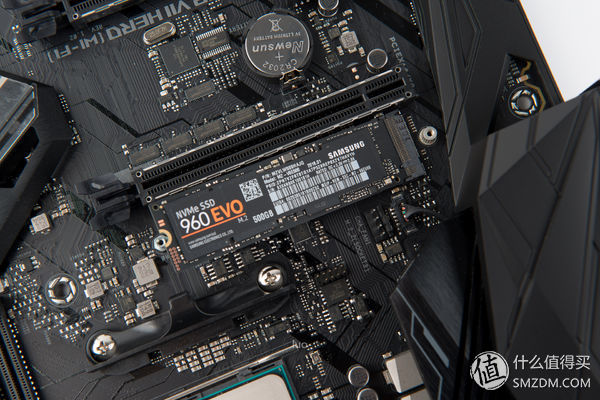
SSD: Samsung 960 EVO 500GB
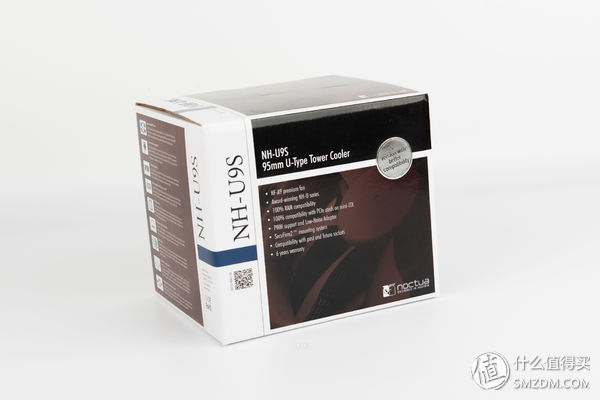
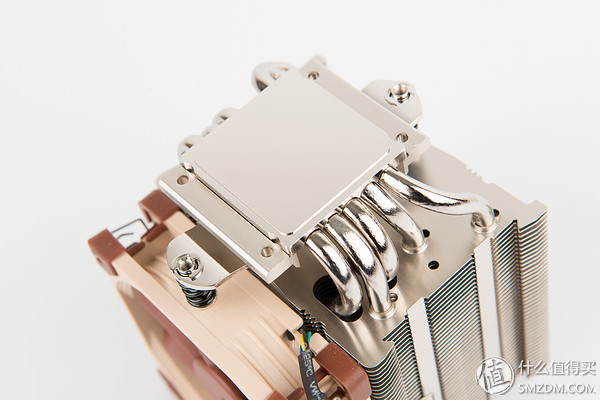
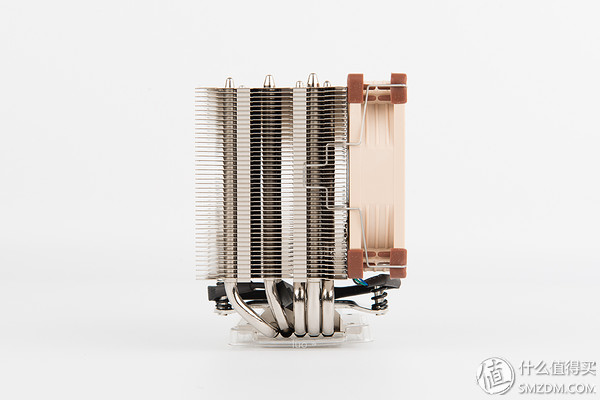
Radiator: Owl NH-U9S
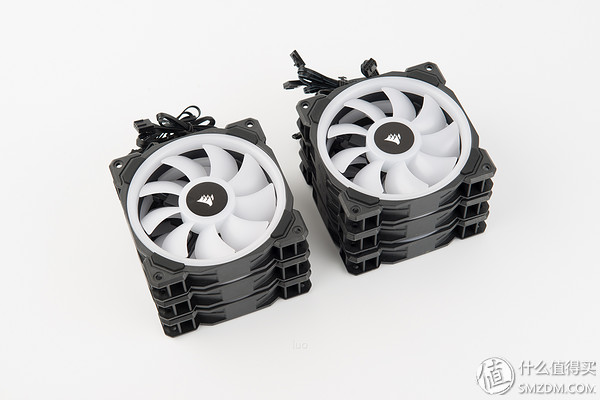
Fan: American Merchant Corsair LL120 RGB x 6
Chassis: United Force Bauhaus-O11
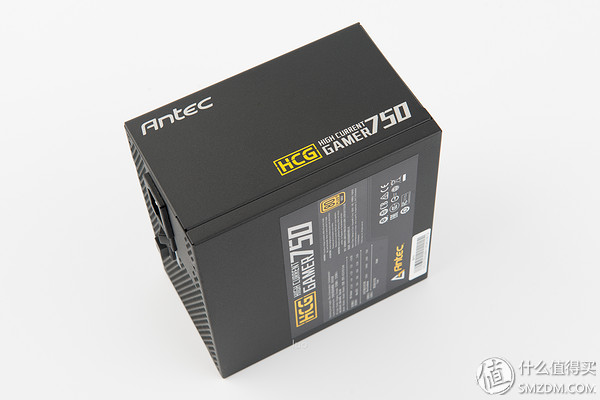
Power Supply: Antec HCG750 Gold
Out of the box
AMD Ryzen 7 2700X.

Zhizhi magic light memory.

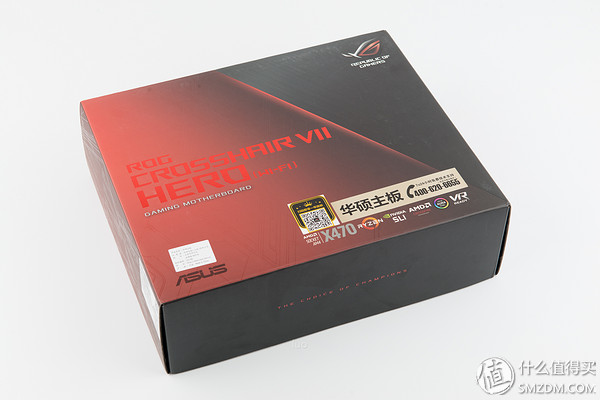
ASUS ROG CROSSHAIR VII HERO (WI-FI) can be said to be the best X470 motherboard now, packaged as orthodox ROG red and black color.
The back of the package is a description of the product characteristics.
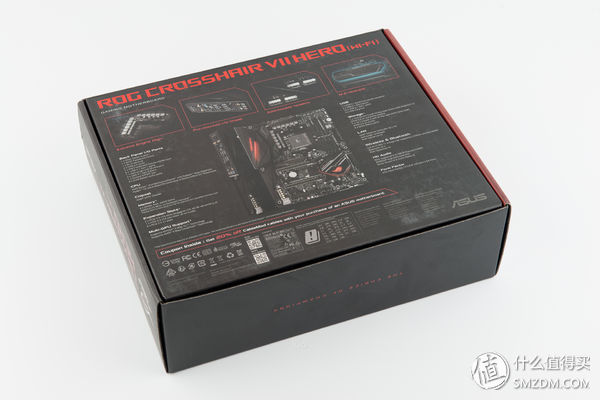
ASUS high-end motherboard on the window display design.

A large logo sticker.

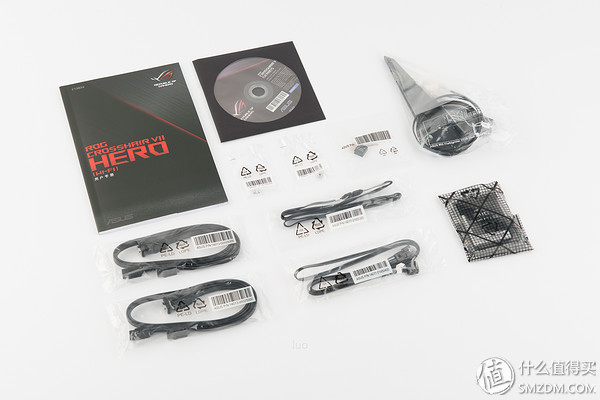
List of instructions and accessories.
The front of the main board is black and grey, which is basically the same as C6H.

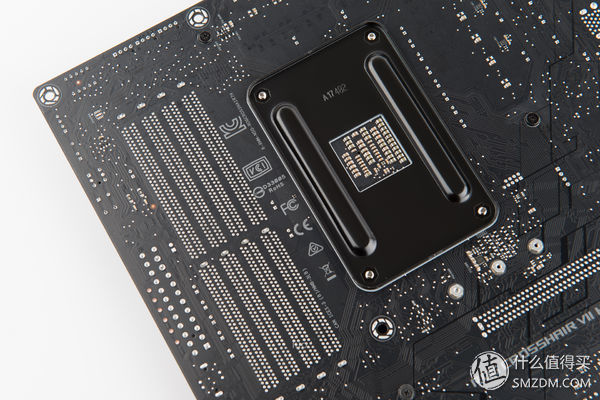
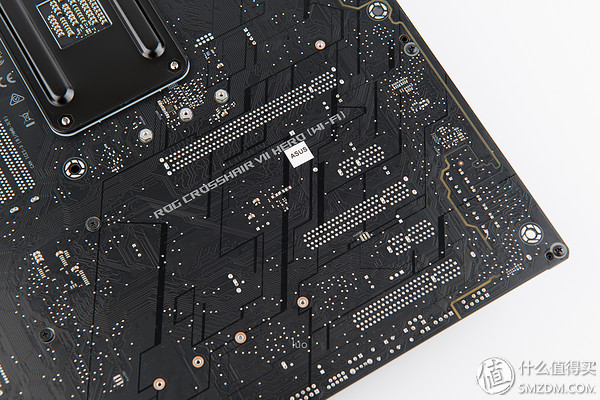
The back of the motherboard.

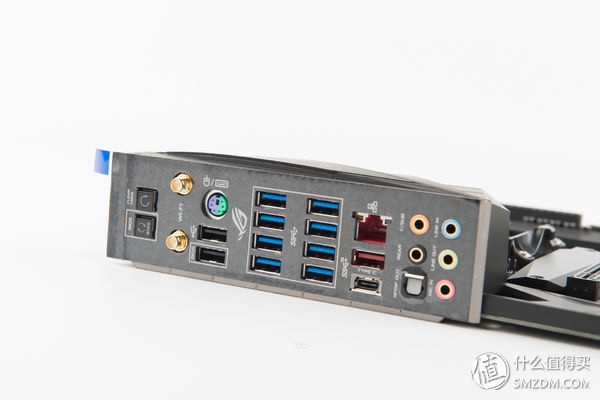
The rear interface, basically the same as C6H, removes 2 USB 2.0 and replaces it with PS/2. From left to right, it includes ROG's Clear CMOS and BIOS Flashback button, WiFi+Bluetooth antenna interface, and a PS/2 interface. , 2 USB 2.0, 8 USB 3.0, 1 pair of USB 3.1 (Type-A and Type-C), one Gigabit LAN port, 5 3.5mm audio interfaces and 1 S/PDIF fiber output port.
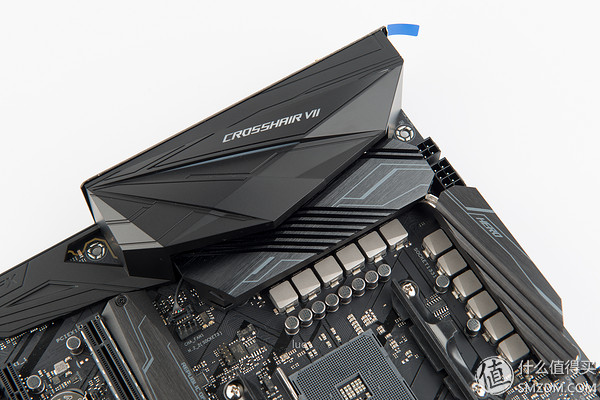
The full cover of the interface cover is darker than C6H.
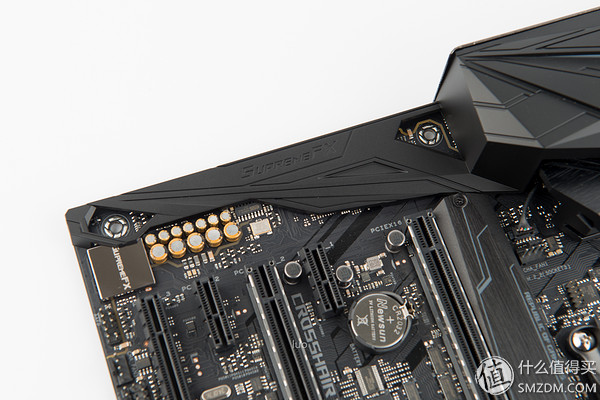
The protective cover extends to the sound card section, the sound solution of SupremeFX.
X470 chipset heatsinks, and can have a bright "spoiled eye", while supporting RGB lighting effect control.
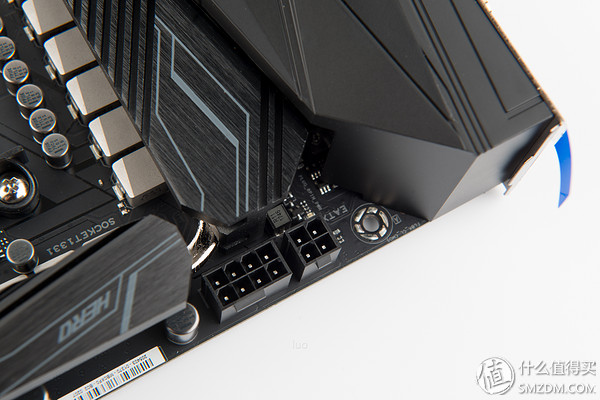
The heat sink of the power supply part is engraved with HERO.

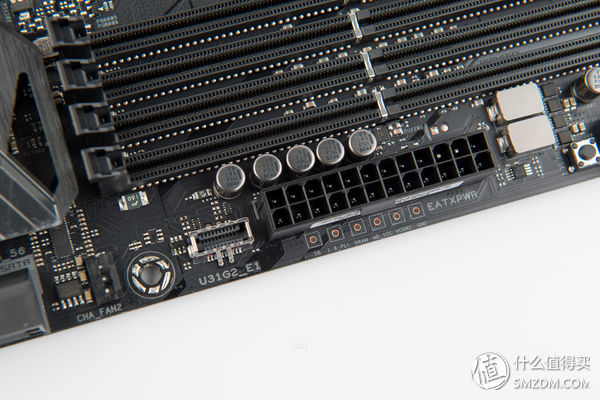
12-phase power supply.
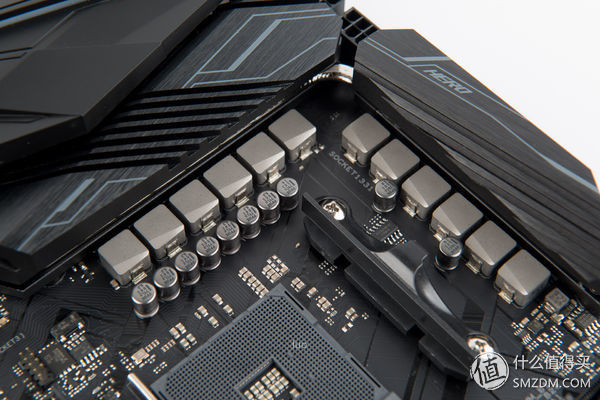
Heat pipe between heat sinks.

The 8pin + 2pin CPU power supply provides strong support for the stable operation of the CPU. Of course, only the 8pin is no problem.
AM4 interface.

Memory slot.
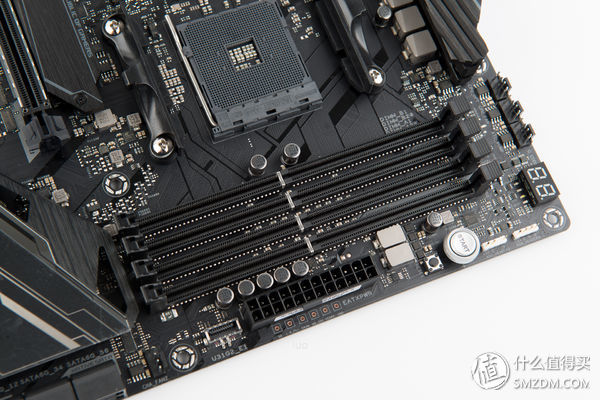
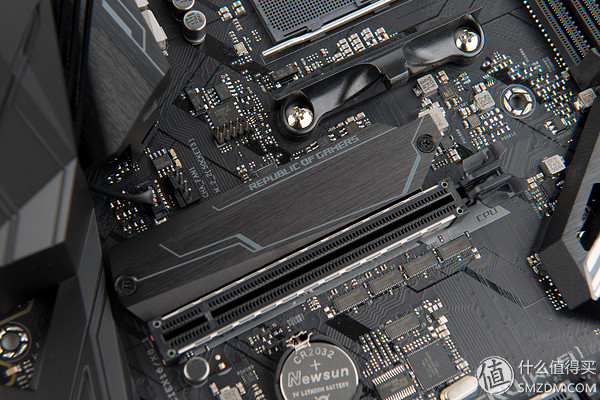
PCI slot.
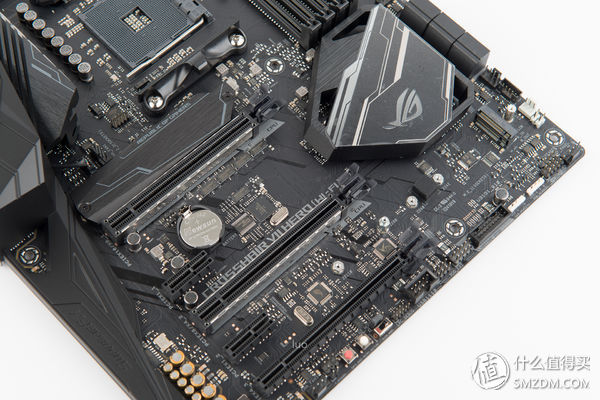
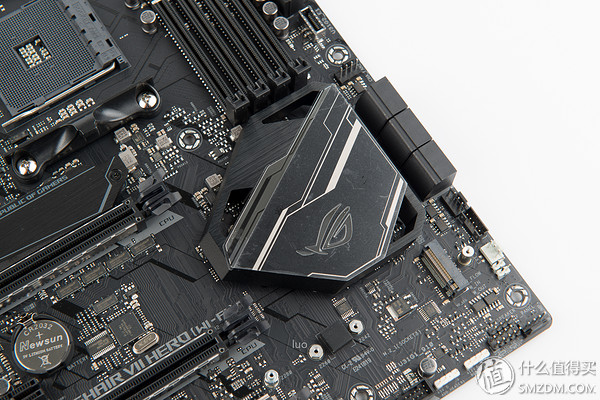
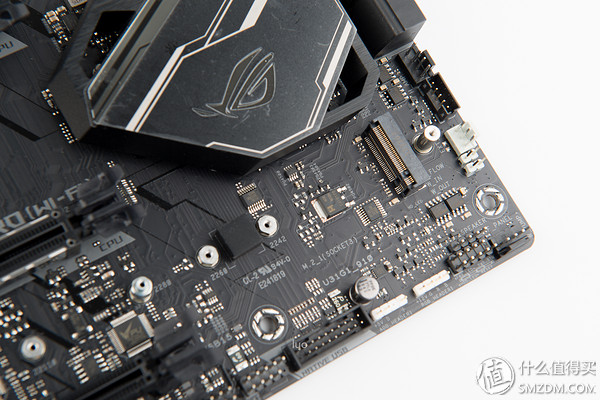
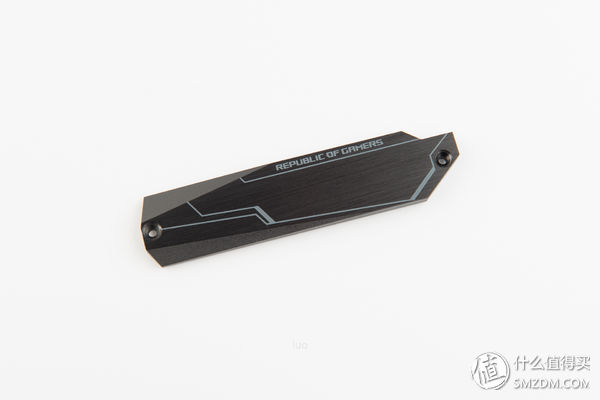
M.2 interface with heat sink.
Another M.2 interface.
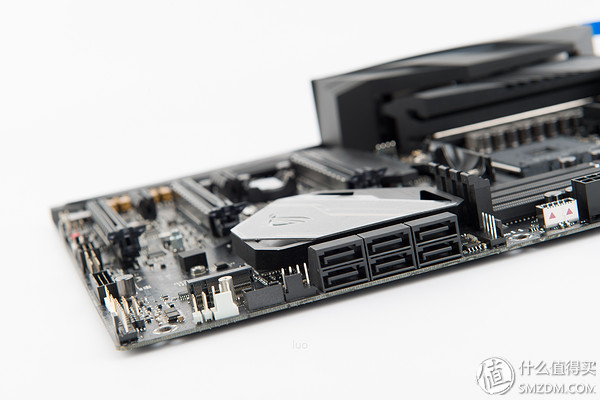
6 SATA interfaces.
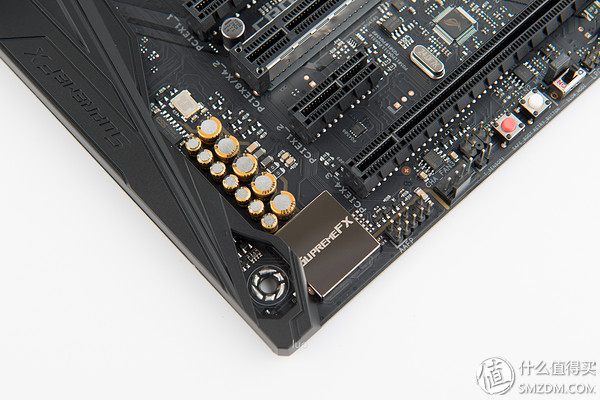
SupremeFX integrated audio solution with metal shield on top.
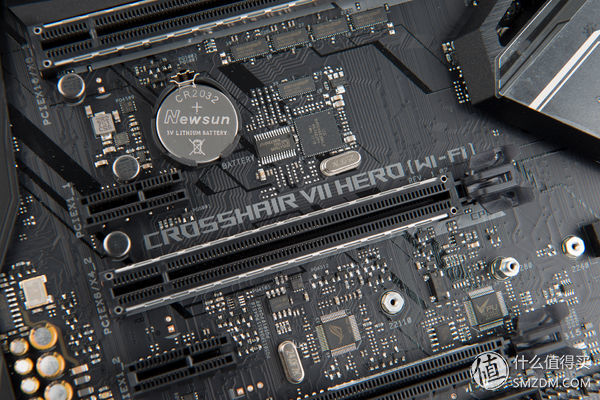
Two error indicators, next to the white slot that supports RGB light bars.

Board model identification.
Front USB 3.1 Type-C interface.
The back part of the CPU is printed with various industry standard marks.
The back of the PCI slot, you can clearly know the rate.
Compared to C6H, C7H tends to be perfect.

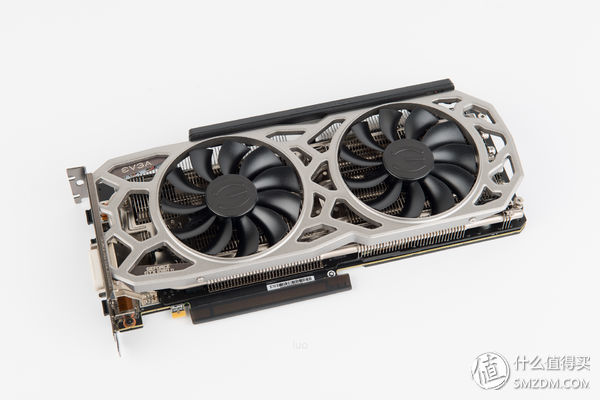
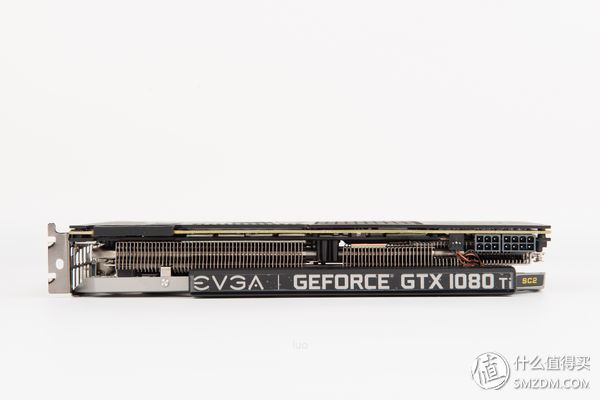
EVGA GTX1080 Ti 11G SC2 GAMING iCX, front package.

The back of the package.

The front of the card is the EVGA classic gas stove model.
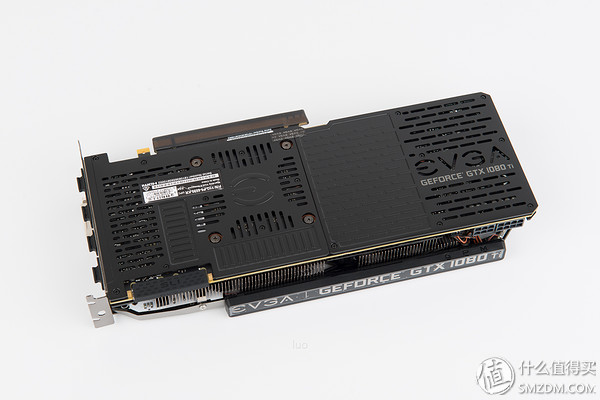
The back of the graphics card, two-stage metal backplane.
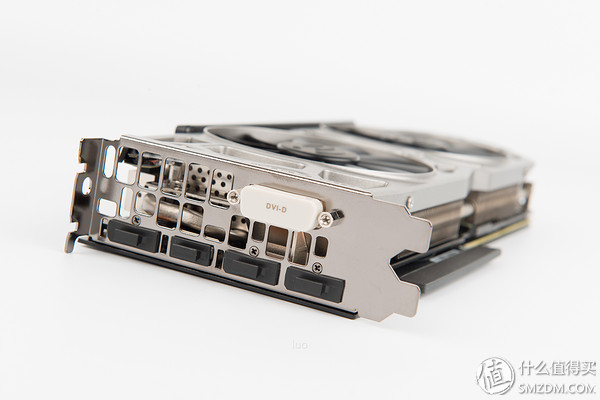
Interface section.
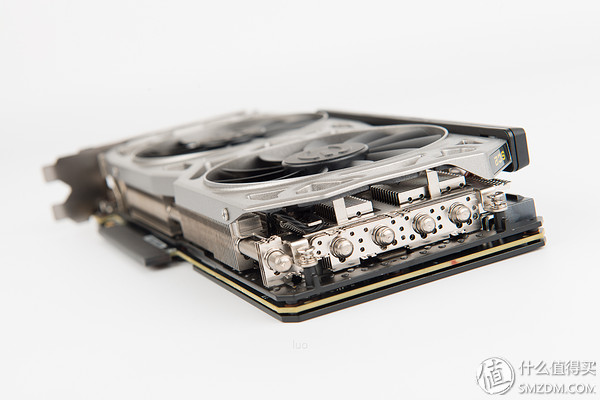
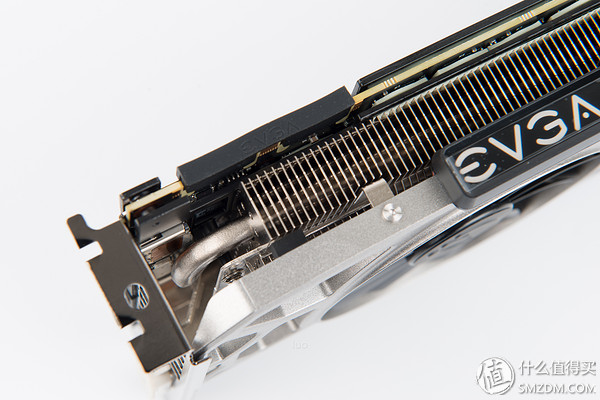
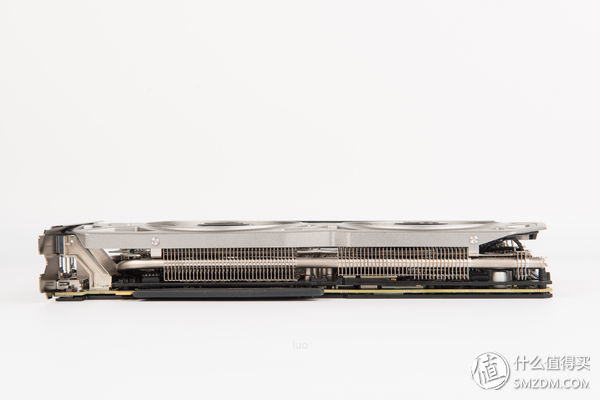
The front of the graphics card can clearly see the heat pipe and heat sink.
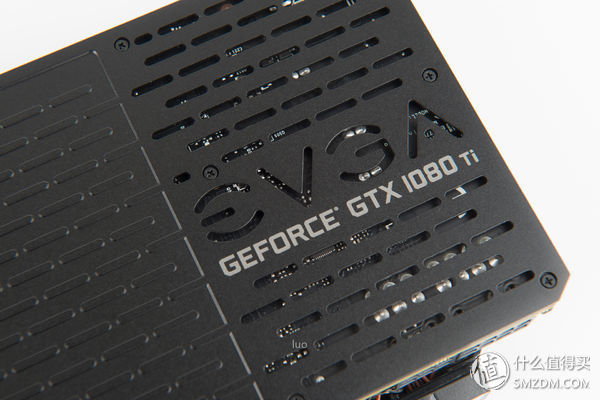
EVGA logo and model identification on the back panel.
The heat sink on the back of the GPU chip also has an EVGA logo.

SLI protection cover.
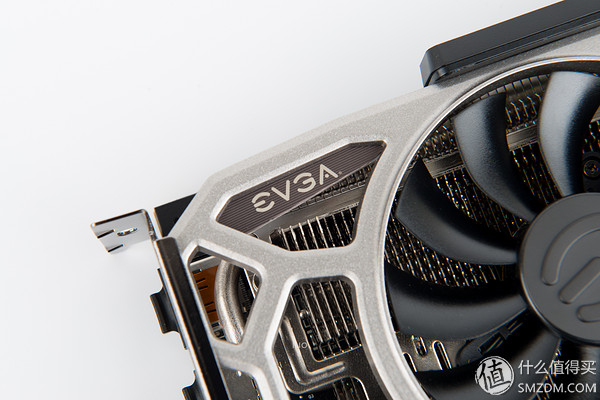
EVGA logo on the cooling module.
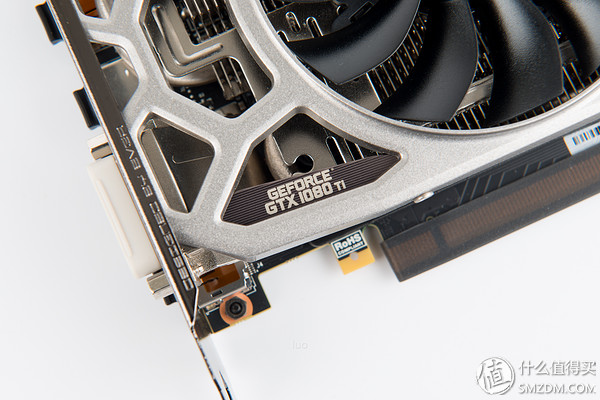
Model identification.
EVGA design.

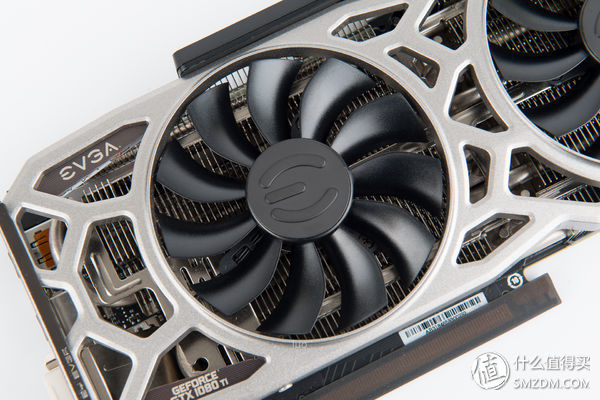
Cooling fan.

iCX technology logo.

Can see the internal cooling module.

The light of faith on the top of the video card.

Customizable RGB color temperature warning lights.

Gold finger protection is also in place.
 DSC_5823.jpg
Side of the video card at a glance, you can see the video card work materials is very solid.
Since it was not equipped with a mechanical hard disk, the 500GB Samsung 960 EVO was selected.

Since the chassis has a 155mm limit on the radiator, the owl NH-U9S was chosen.

Radiator top logo.

bottom.
side.
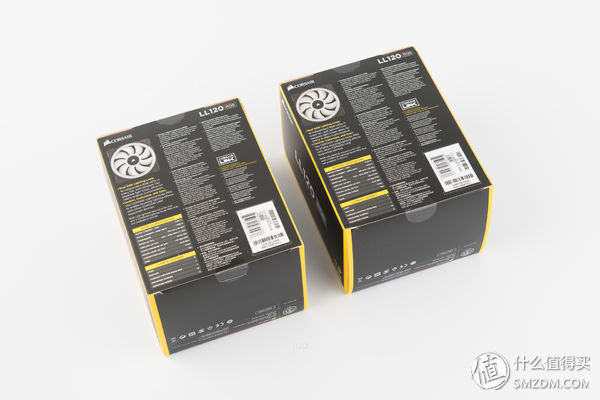
The American Corsair LL120 RGB 3 fan set x 2, personally considered to be the current RGB lighting fan front product.
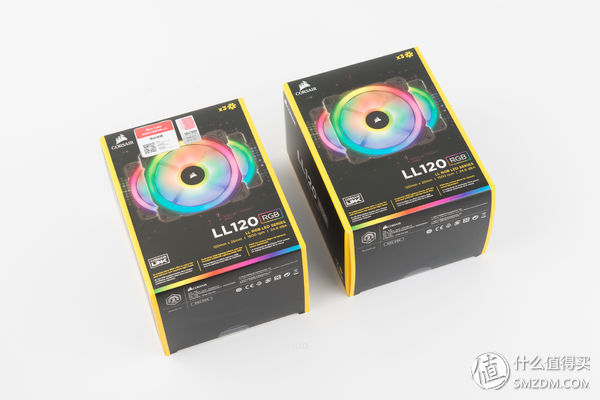
fan.
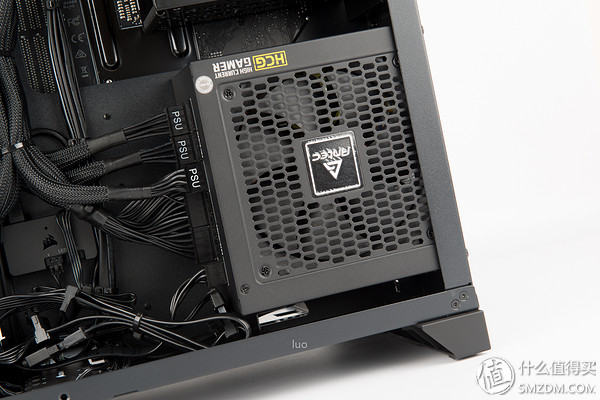
The CPU and graphics card are large power consumers, chose the latest HTC 750 Gold Antec, the power supply default with 2 CPU power supply line to meet the power requirements of the C7H.
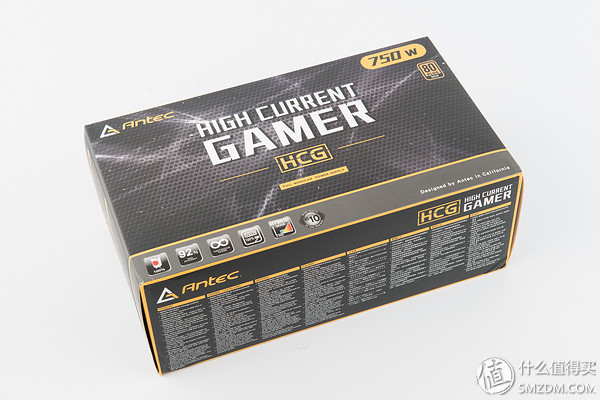
The back of the package is a description of the characteristics.

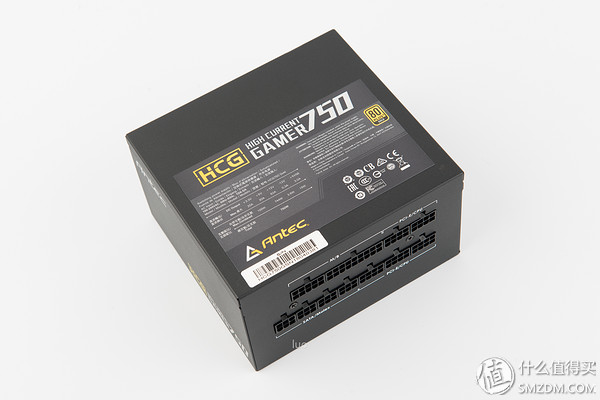
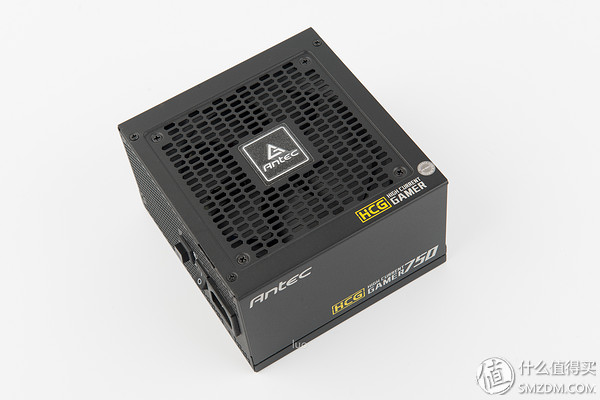
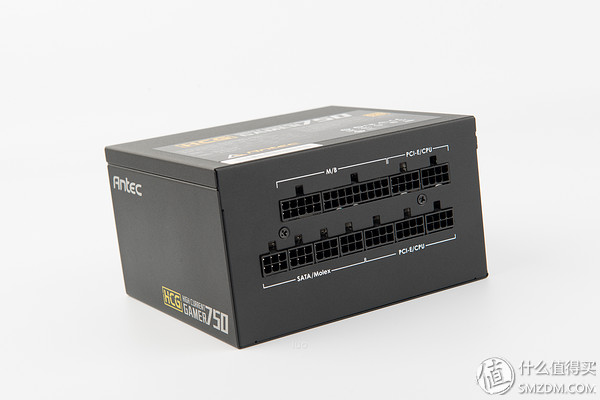
Power body, the nameplate on the top.
The intake hole uses a 120mm silent fan.
The side is model number.
Module power interface at a glance, rich enough.
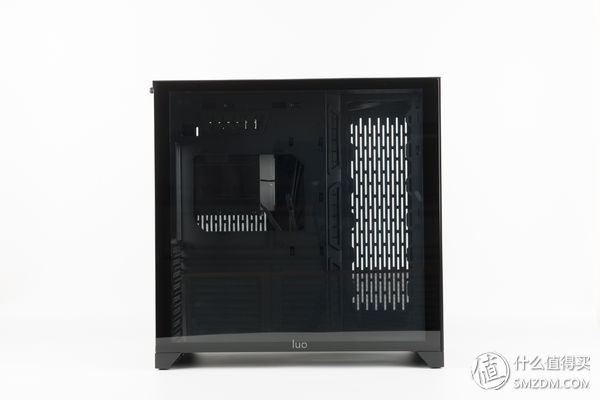
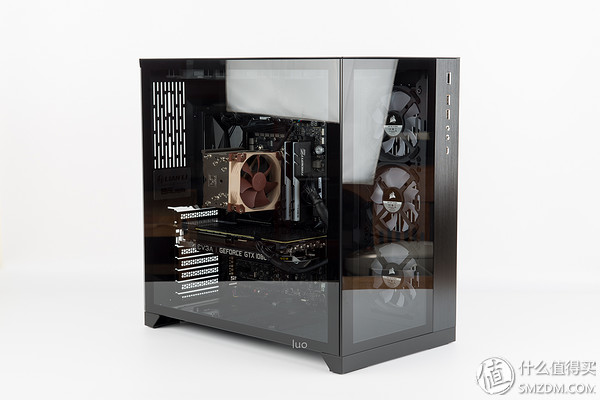
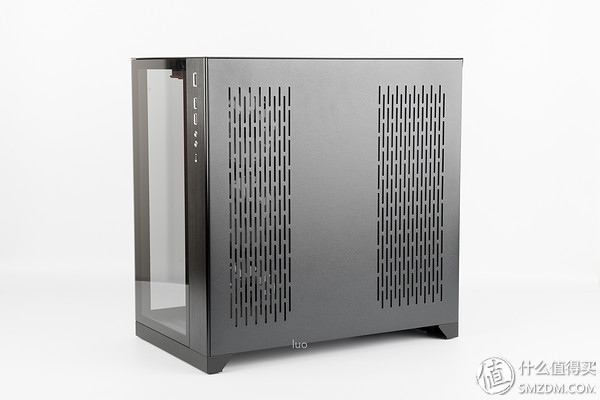
LIAN LI Bauhaus-O11, 45° viewing angle.
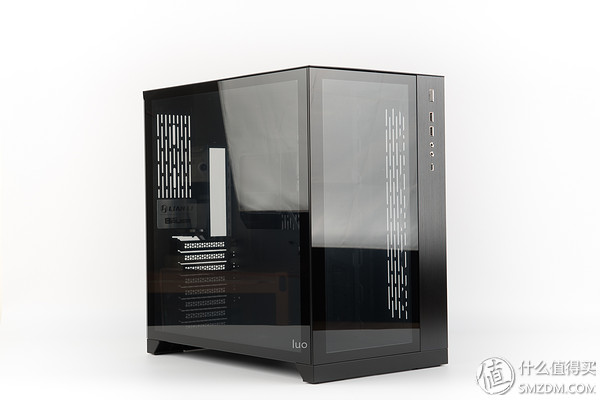
The front of the chassis.

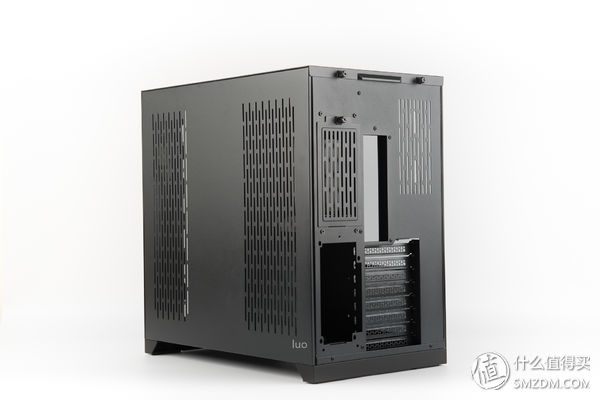
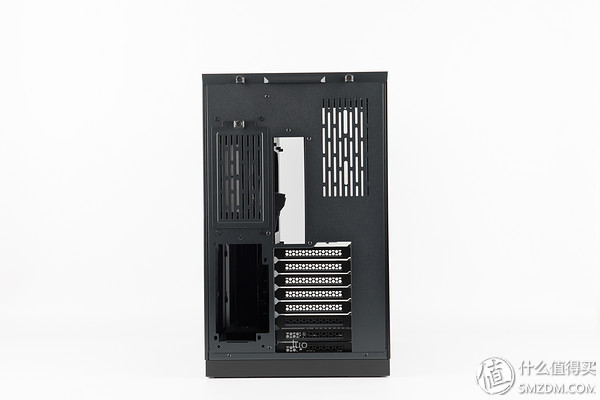
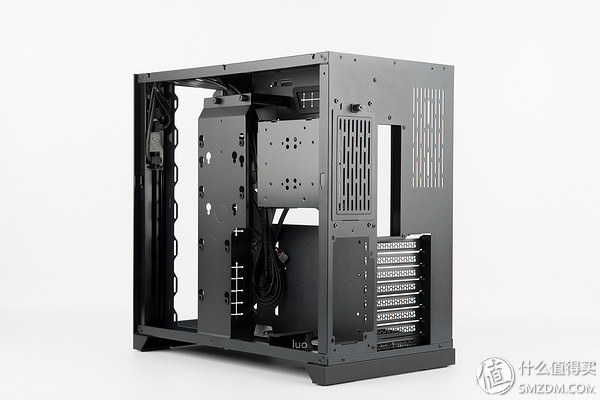
The back of the chassis.
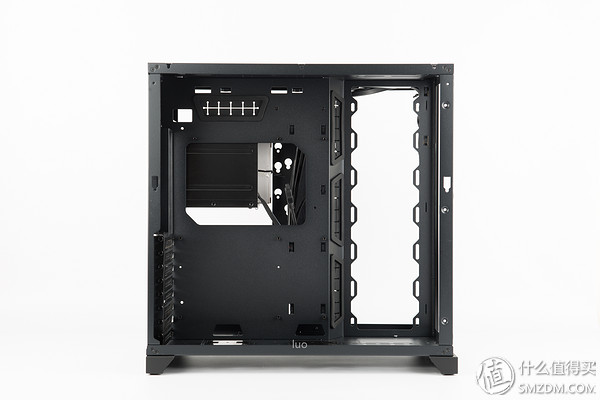
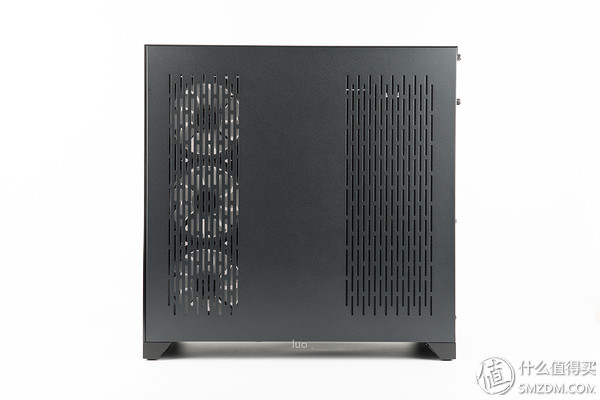
Side of the chassis.

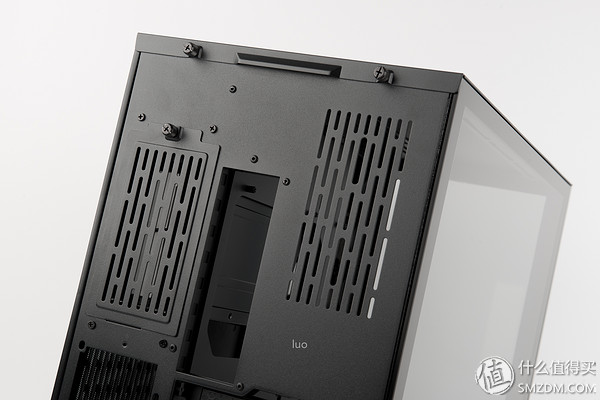
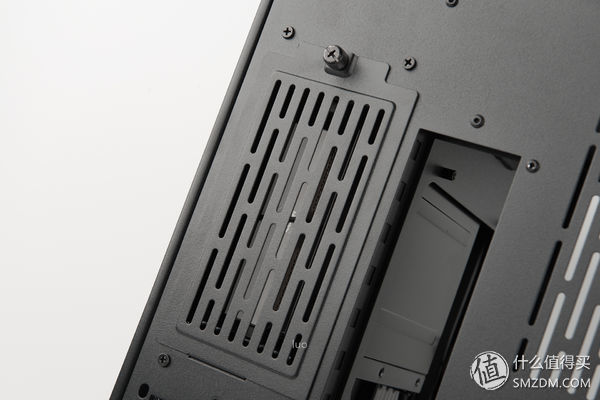
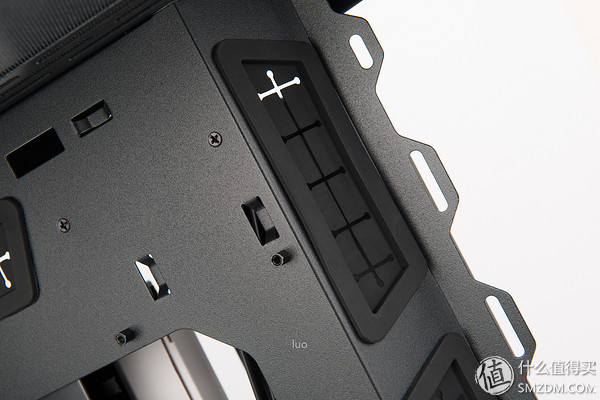
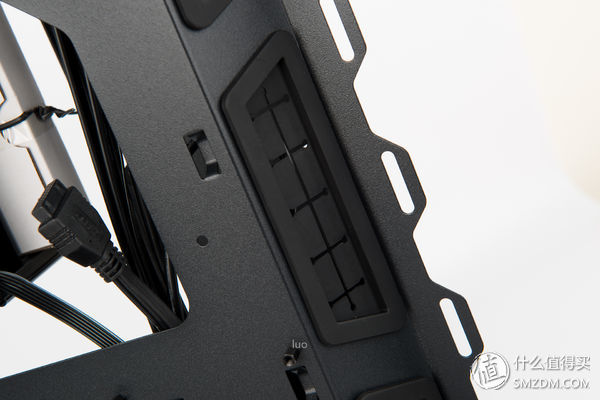
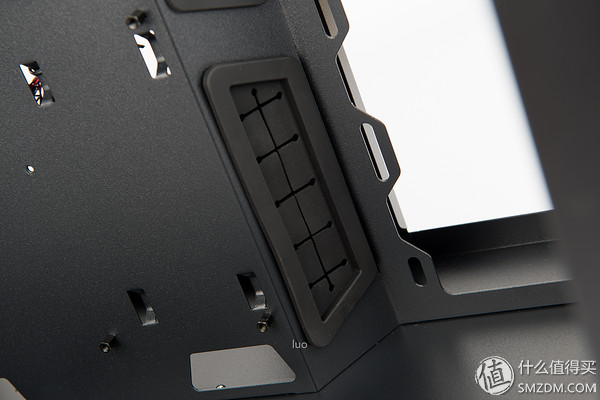
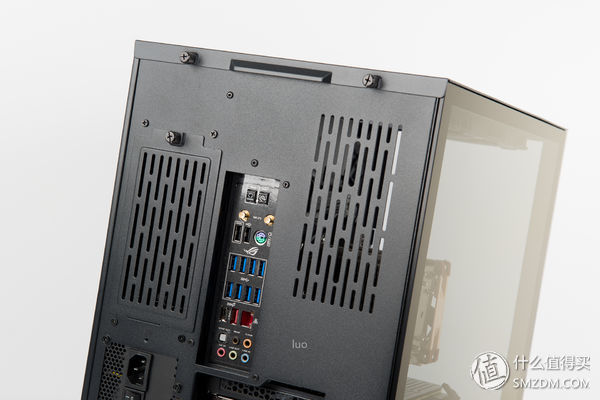
Above the back is a hard disk mount (supports a second power supply installation), motherboard interface locations, and thermal vents.
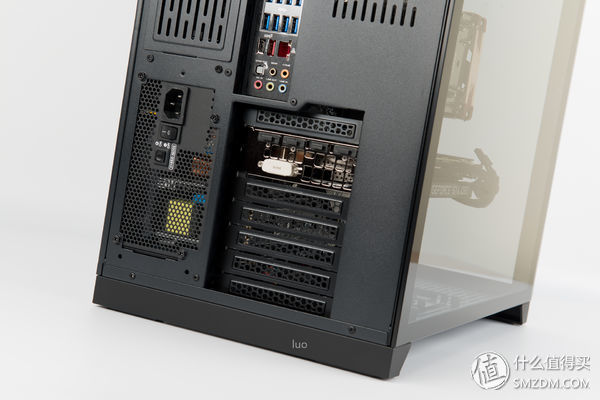
Back under the direction of power and PCI slots.
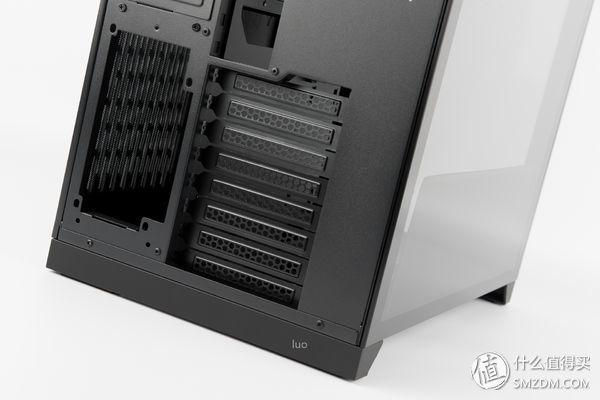
You can insert two 3.5-inch hard drives from the rear, remove the stand and install a power supply.
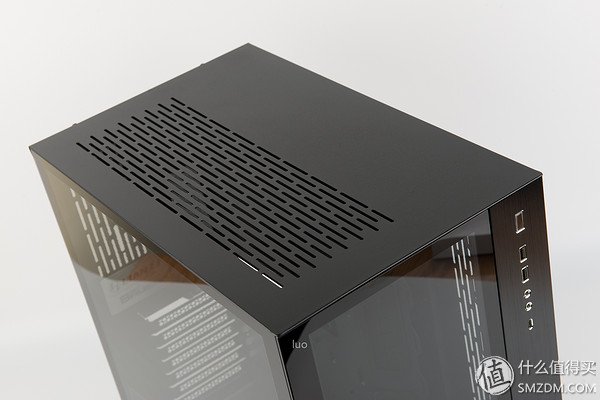
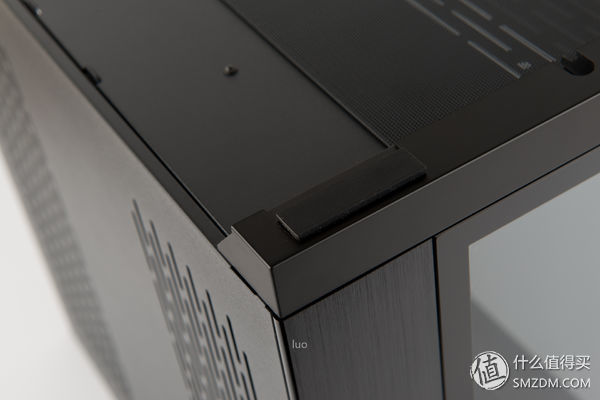
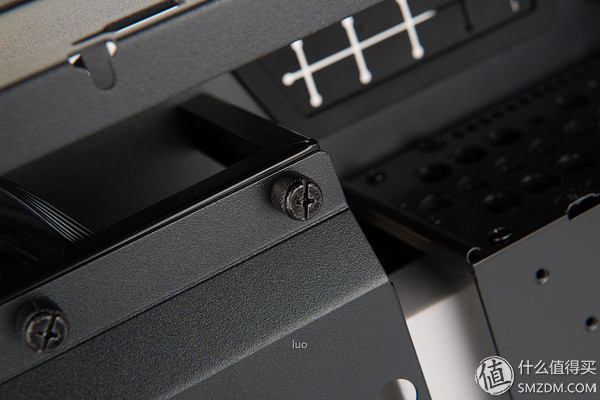
The top cover is screwed with hand screws.

The front panel interface, from top to bottom, is the power button (integrated power indicator and hard disk indicator), USB 3.1 Type-A x 2, audio interface, USB 3.1 Type-C x 1.
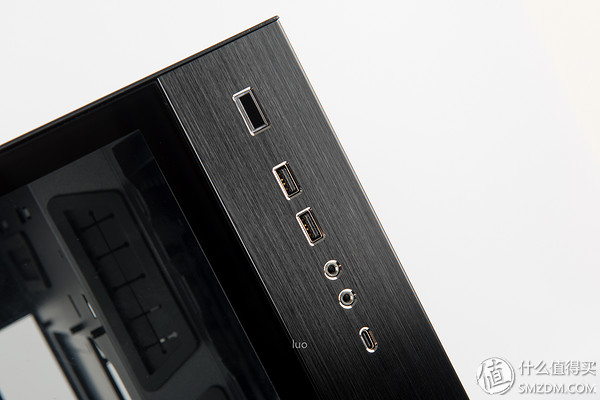
Type-C interface.

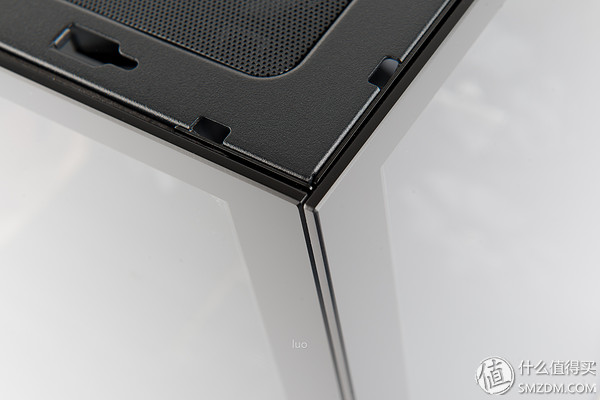
The panels meet at a small gap.

On the right side, there are openings for the air intake of the chassis and the power supply.

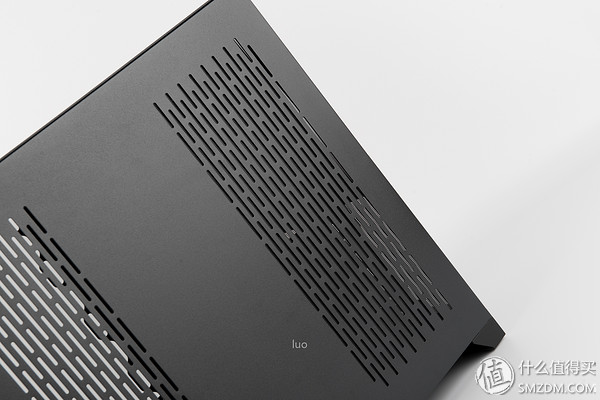
An opening at the top of the chassis for exhaust.
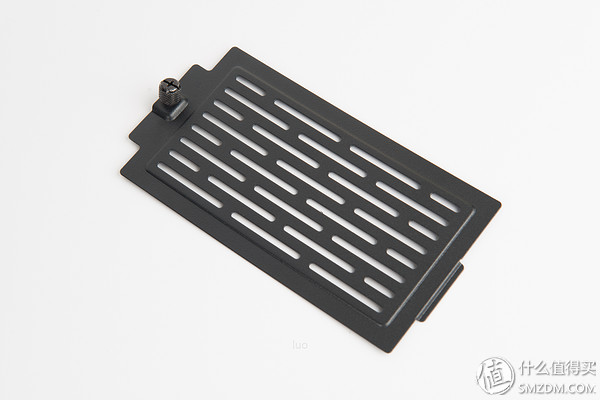
The bottom of the chassis is affixed with a magnetic dust filter.

Chassis pads.
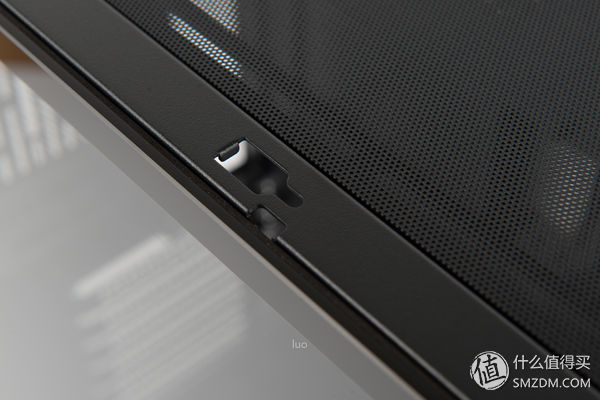
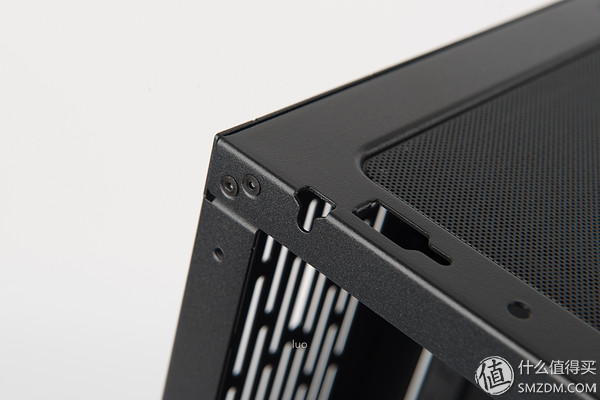
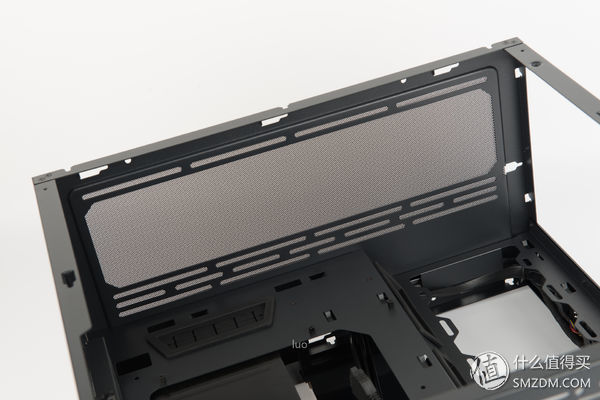
Remove the top cover, you can see the top is also affixed with a magnetic dust filter.

Buckle buckle.

The inner side of the side panel also has a magnetic dust filter.

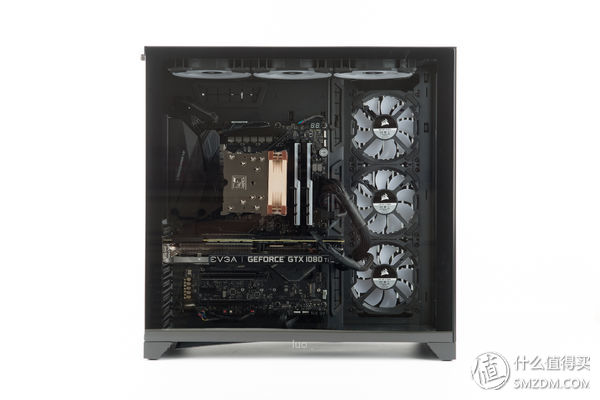
45° viewing angle after removing the side panel.
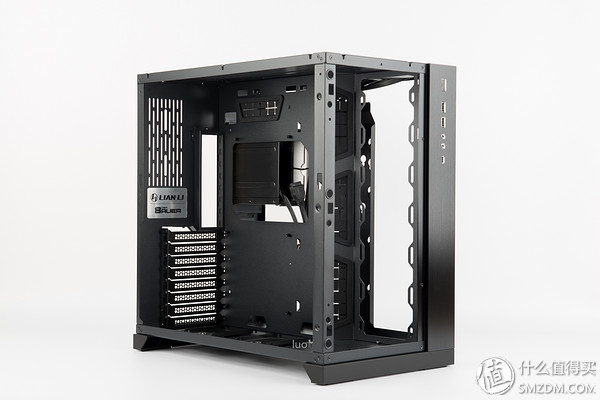
Side, internal structure at a glance.

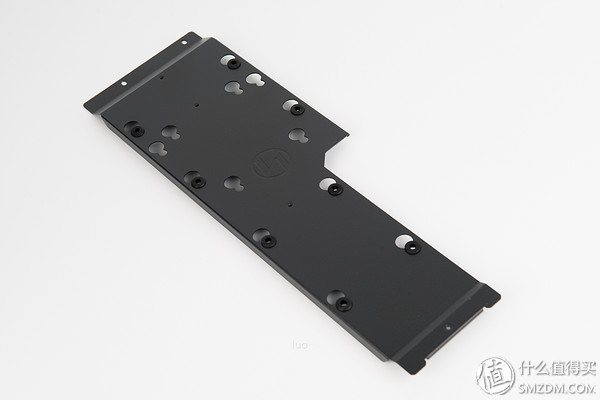
Hard disk bracket.
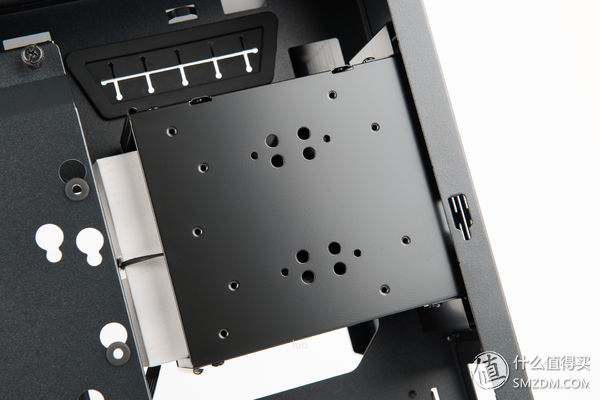
Another hard disk bracket also serves as a hidden line.
The power supply position has a bracket for holding the power supply and has a rubber pad on it.

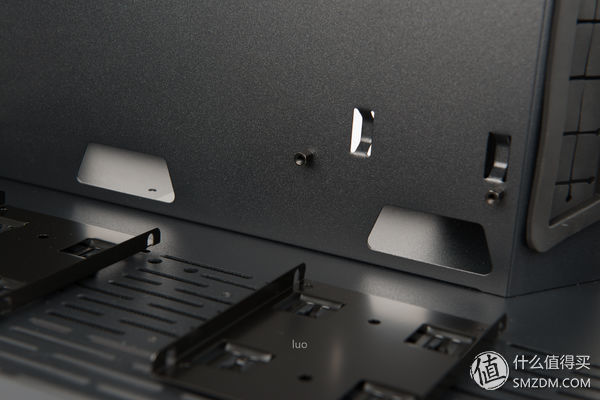
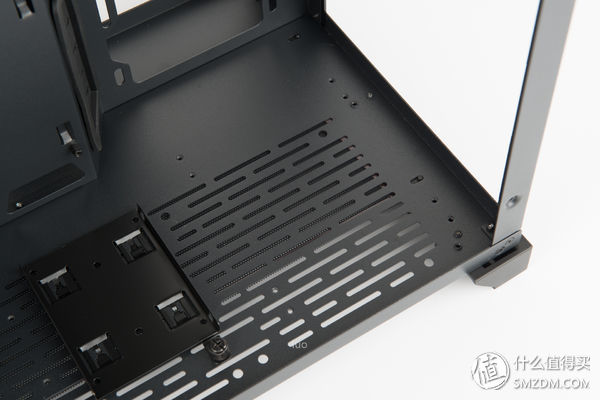
There are two 2.5-inch hard disk mounting brackets at the bottom of the chassis.

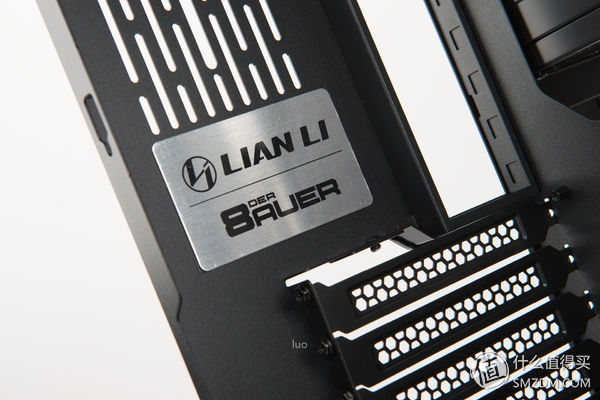
Chassis metal nameplate.
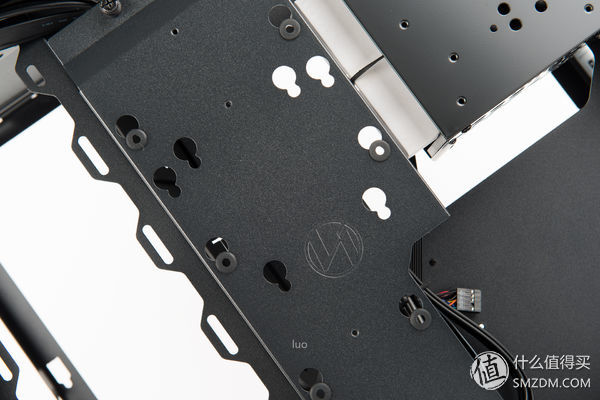
The location of the motherboard is large, and the replacement of the heat sink is very convenient.
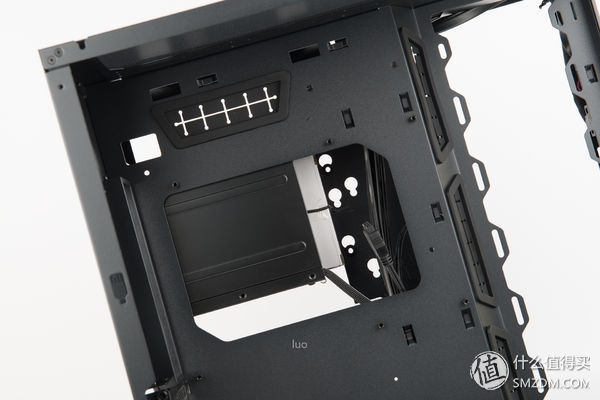
Rubber ring for routing.
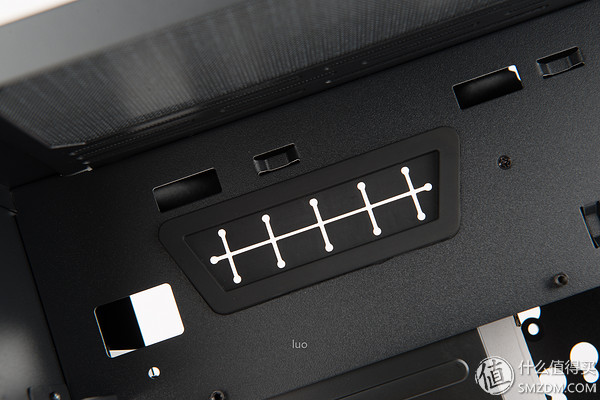
A rubber ring is arranged in the position of the line, so that the line can be as beautiful as possible.
The bottom is used for opening the jumper.
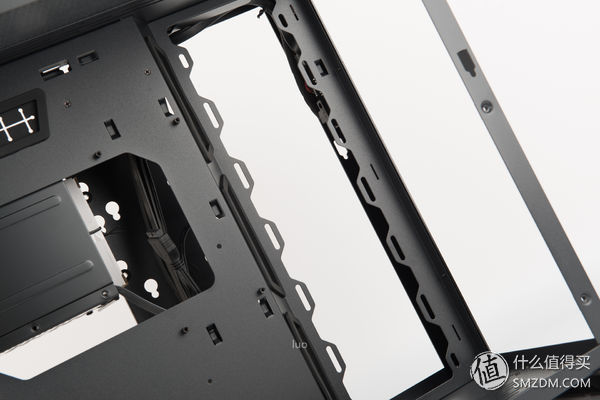
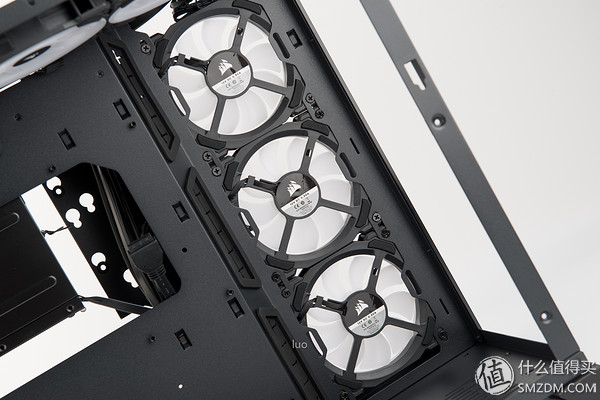
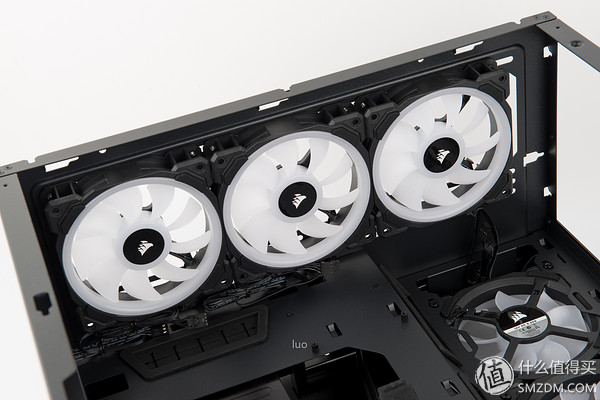
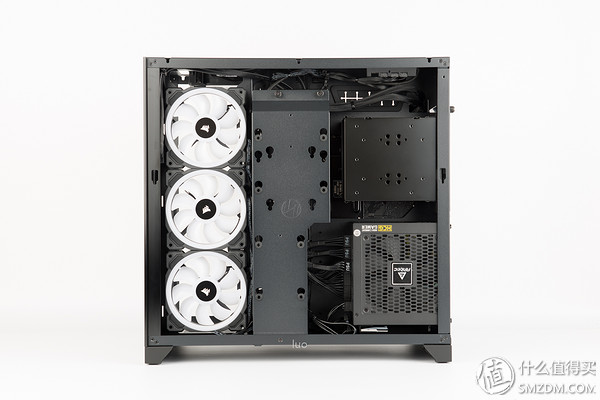
Fans and cold rows on the side of the front of the chassis.
The fan position at the bottom of the chassis supports the tank installation.
Fans and cold rows at the top of the chassis.
Hard disk bracket rear cover.
After removing the cover, you can see the internal structure of the hard disk bracket.

Hard disk bracket, workmanship is not bad, very strong.

Another hard disk bracket.
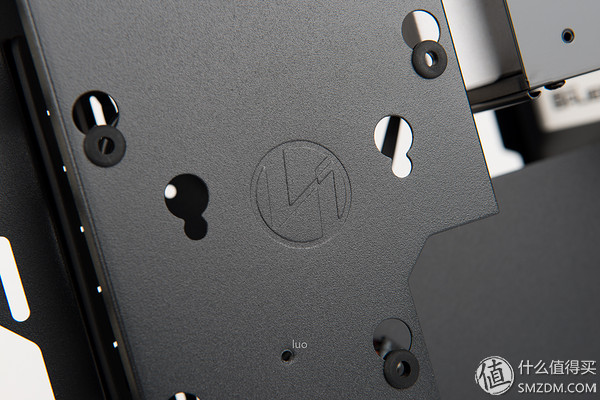
New version of the joint force logo on the stand.
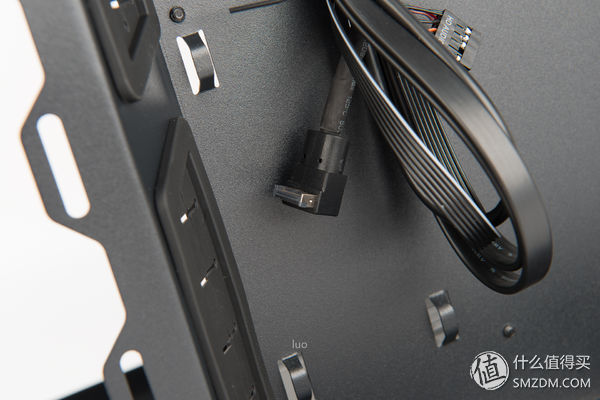
Front USB 3.1 Type-C jumper interface.
Installed show
Machine accessories.

Install the CPU.
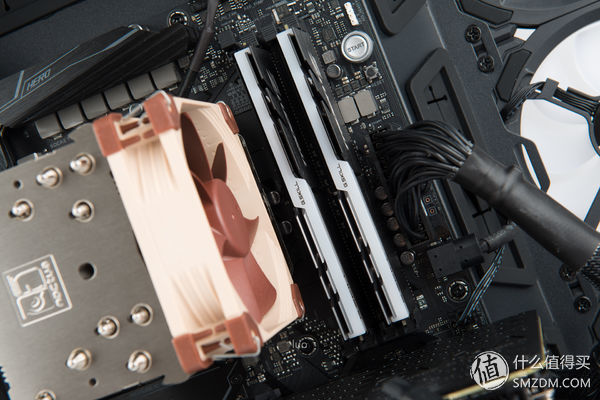
Install memory.

Install the SSD and remove the heat sink first.
There is thermal paste on the back.

Install SSD.
Reinstall the upper heat sink.

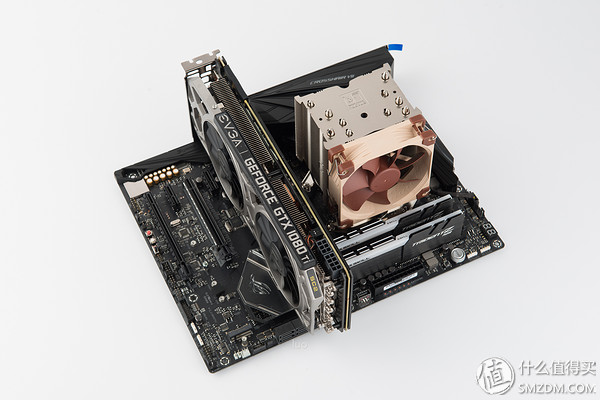
Install the radiator.

Install the graphics card.
Next is the installation of the chassis section. First, fix the front and top fans.
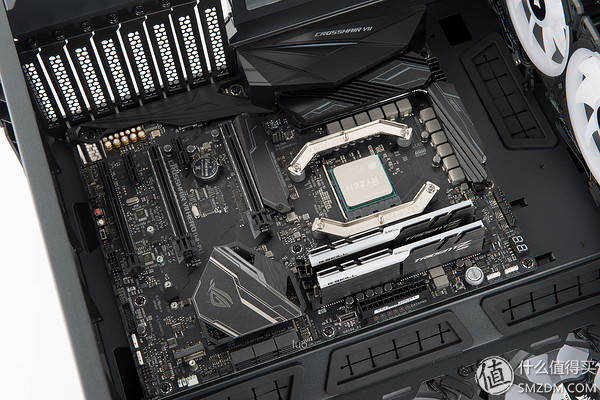
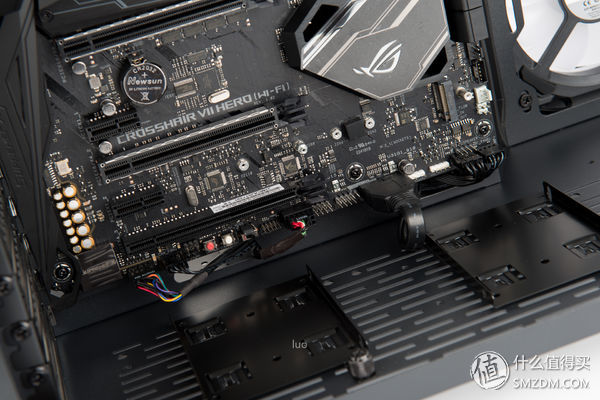
Install the motherboard into the chassis and secure it.
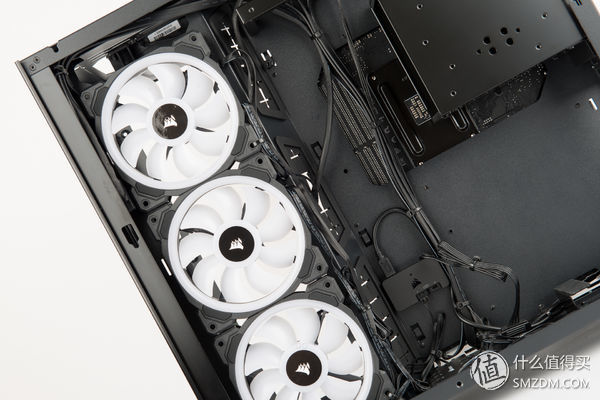
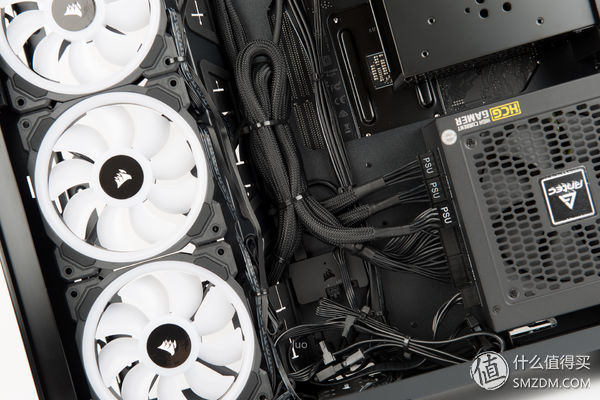
Due to the large number of cables, after careful combing, the effect is as follows, and it is relatively refreshing.

Due to the large number of fans, a fan Hub was used.

Corsair Lighting Node PRO controller.

After the cable is combed, it is tied with a tie and fixed.

Back line effect.
Install power and power cables.
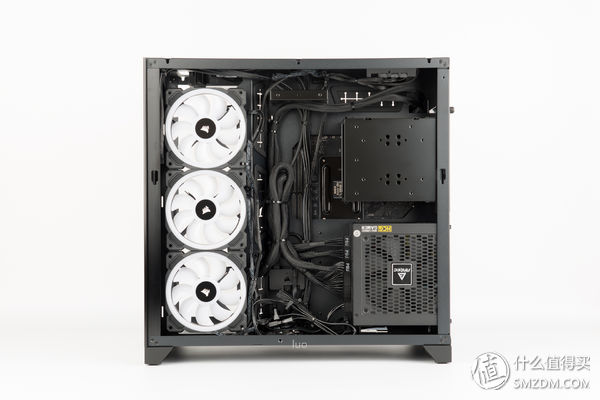
It can be seen that although there are many internal cables, there is a lot of space at the time.

After combing is also more beautiful.
The power supply at the bottom.
The motherboard jumper area is not messy because of the reasonable opening.

Chassis nameplate.

After covering the side of the hard disk bracket, the extra lines are not visible.
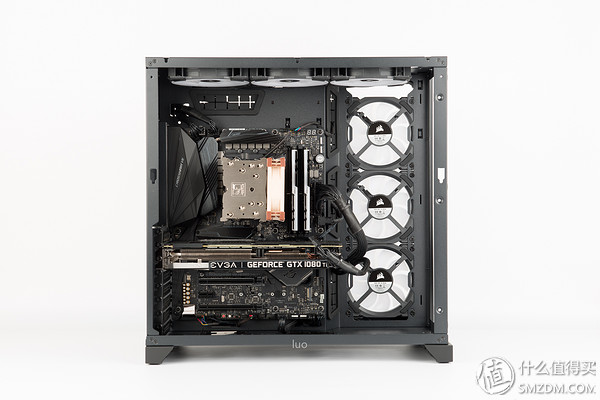
Motherboard side.
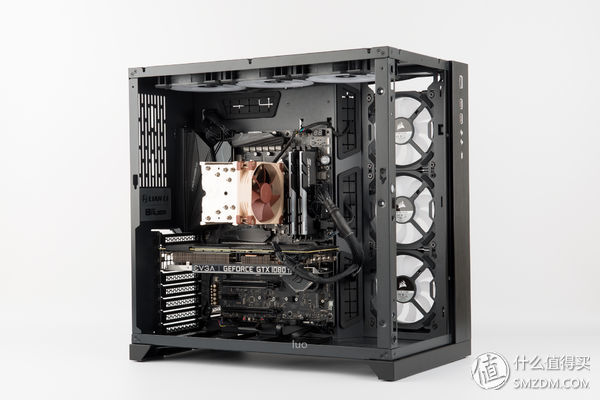
45° viewing angle.
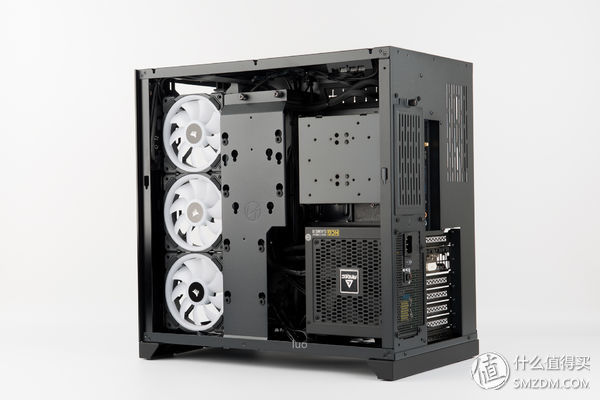
The back is covered with a hard disk stand and it is much more refreshing.

The outlet of the power supply is also very neat.

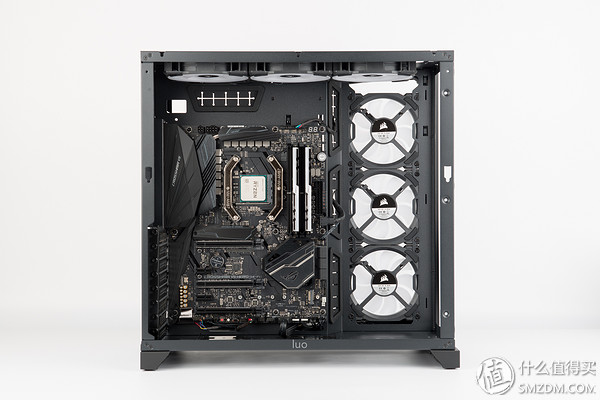
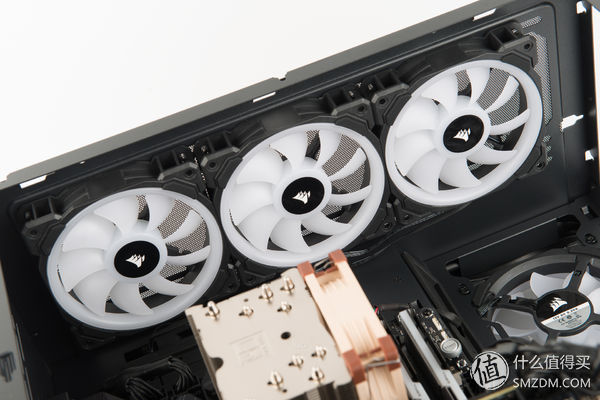
3 inlet fans.
Hard disk bracket and new logo.

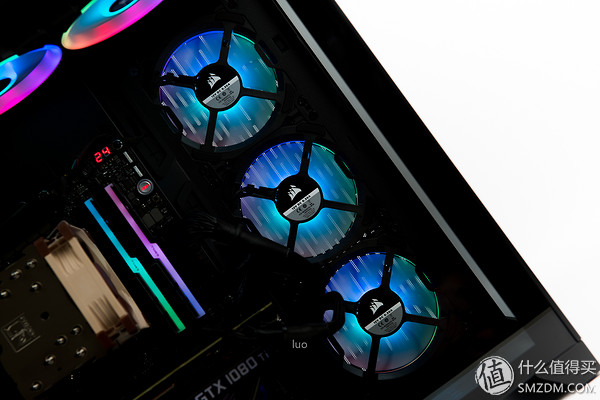
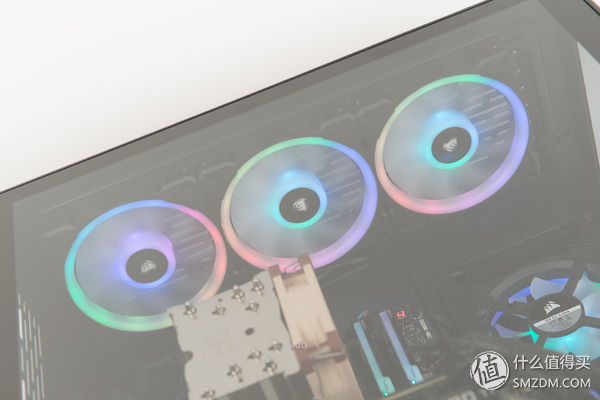
3 outlet fans at the top.
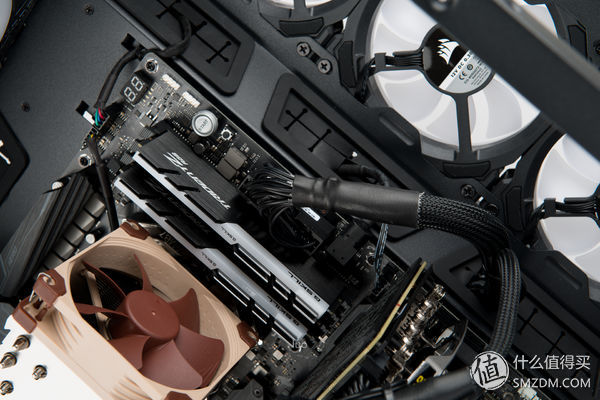
Core component area.
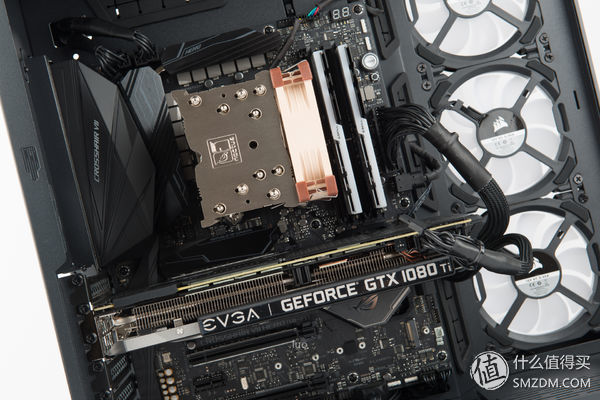
Owl NH-U9S.

RAM.
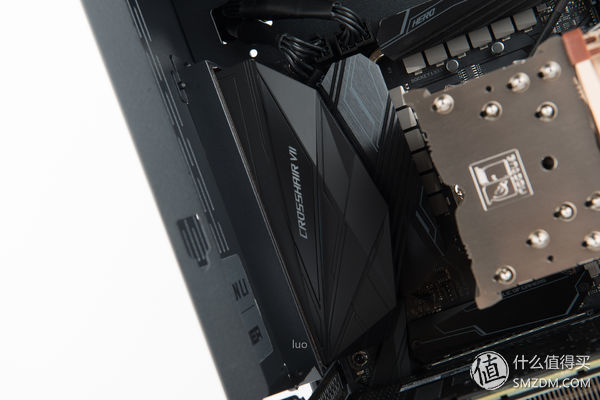
Interface protection cover and light strips.
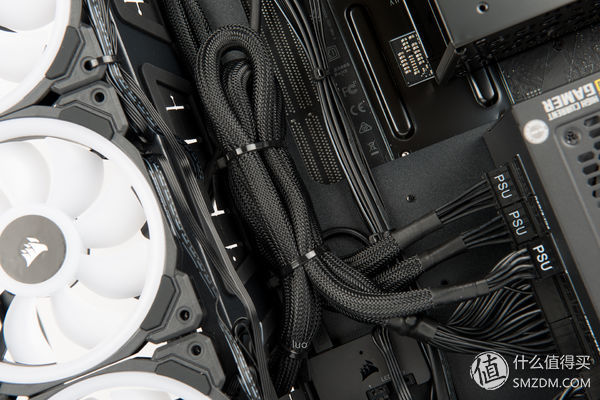
The CPU power supply of the mainboard is full because the HCG750 has enough cables.
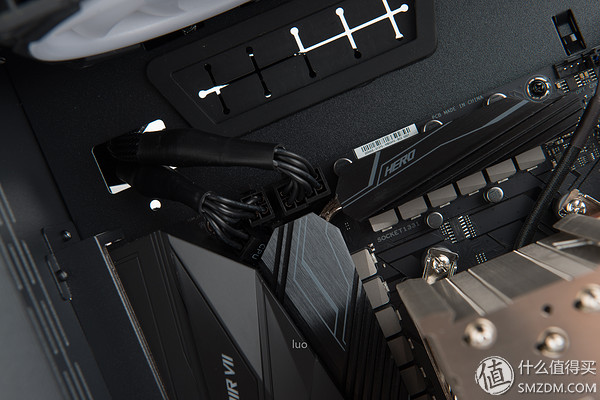
Motherboard 24pin power supply line and graphics card power supply line, combed into a bundle to wear to the back.
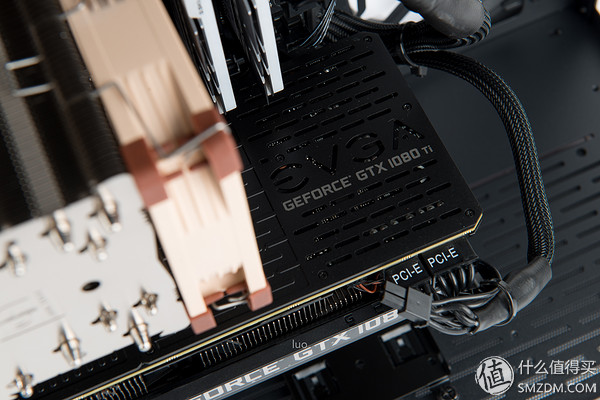
Graphics card power supply and graphics card type on the back panel.
The light of faith on the top of the video card.

The bottom board jumper area.
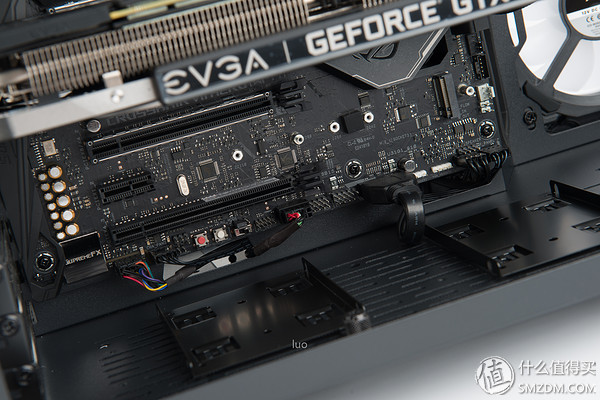
Since only one M.2 SSD is used, the bottom hard disk support is also empty.

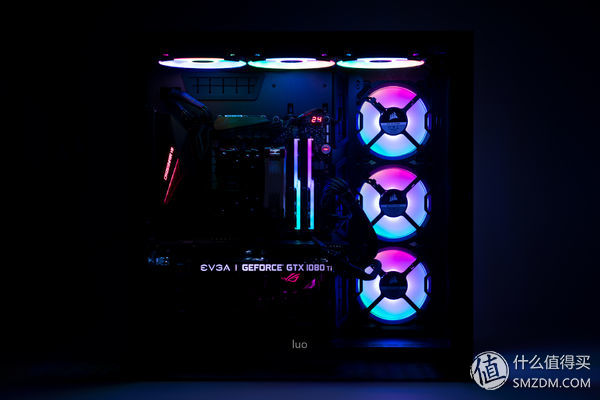
Cover the panels on all sides of the chassis to see the final result.
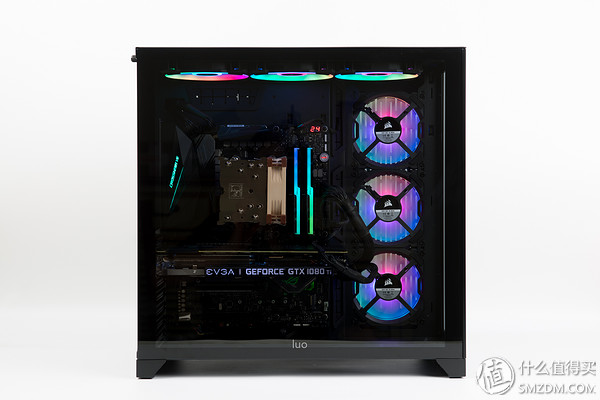
In the front of the chassis, internal components can be seen clearly due to the glass panel.

Chassis back.

Side of the chassis.
The upper part of the back.
Lower back.
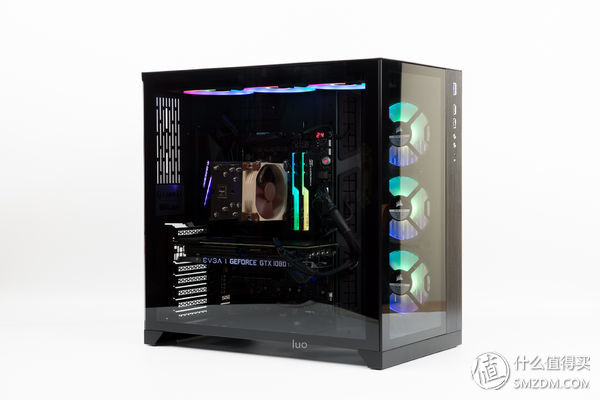
45° viewing angle.


Lighting show
The overall lighting effect after power on.
Memory effect.
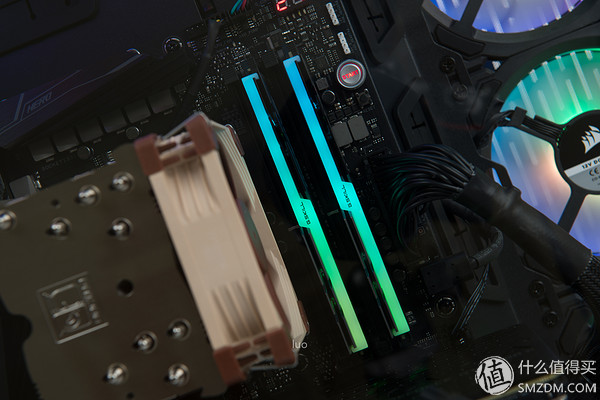
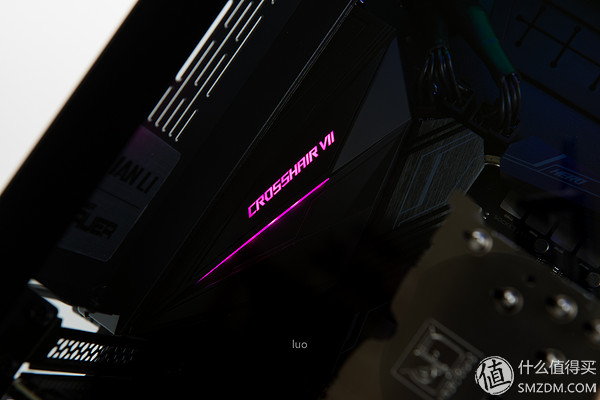
Motherboard I/O part armor light effect.
Corsair LL120 rainbow wave lighting effect.
The light of faith on the top of the video card.
The motherboard chipset heatsink on the "broken eyes."
With the default fan effect, the light of each fan changes one by one.

Use Lighting Node PRO to synchronize each fan's lighting effect. This is Rainbow Wave Lighting. .
Performance Testing
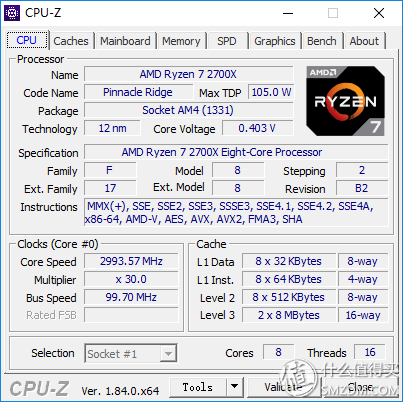
CPU-Z screenshot, Ryzen 7 2700X maximum TDP already has 105.0W.
Improve memory compatibility.

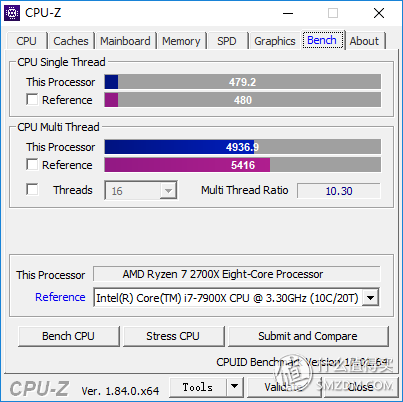
CPU-Z run points.
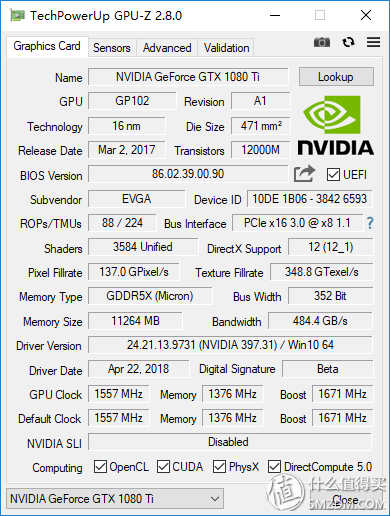
GPU-Z screenshots.
The temperature of the graphics card in standby mode is 35-40°C and the fan stops.

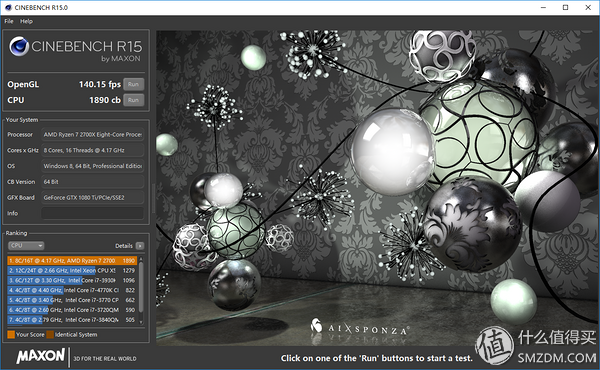
CINEBENCH R15.0 test results, OpenGL 140.15 fps, CPU 1890 cb.
Memory performance test.

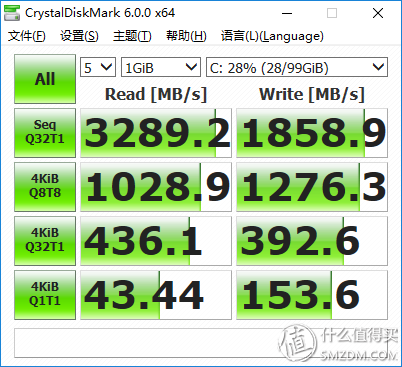
Samsung 960 EVO 500GB performance test.
The 3DMark Time Spy score is 9778, and the graphics card score is 9909.

The 3DMark Time Spy Extreme scored 4439 and the graphics card scored 4594.

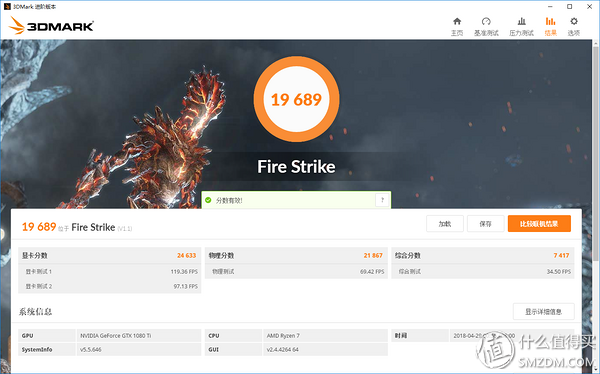
The 3DMark Fire Strike score is 19689, and the graphics card score is 24633.
The 3DMark Fire Strike Extreme scored 12463 and the graphics card scored 12992.

The 3DMark Fire Strike Ultra score is 6751, and the graphics card score is 6638.

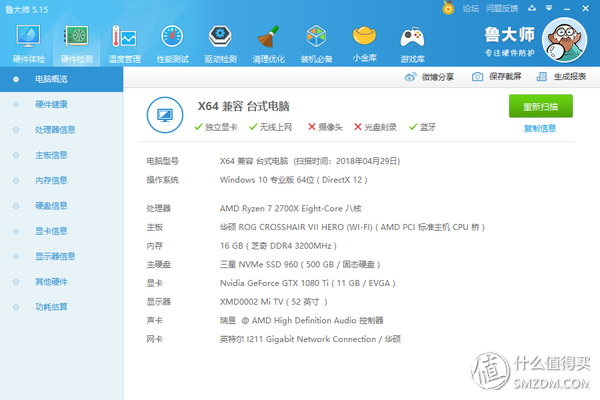
Configuration information.
Lu master entertainment running points, 618,259 points.

Eat chicken certification.

Lighting Node PRO control interface.

The built-in fan light is very rich, and each fan light can be set independently.


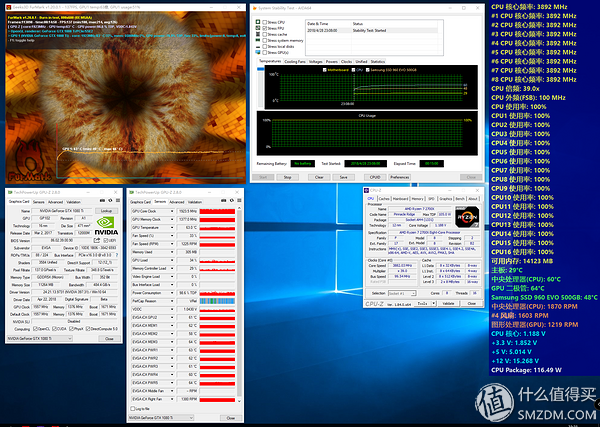
CPU core 3.9GHz, AIDA64 + FurMark double copy test 10 minutes, CPU temperature is about 60 °C, GPU temperature is only 63 °C.
Finish.
KENNEDE ELECTRONICS MFG CO.,LTD. , https://www.axavape.com